

This weekend I saw that Netflix added He-Man and the Masters of the Universe (all 130 episodes!), so I watched the first, The Cosmic Comet. There’s a scene in which Skeletor and Evil-Lyn scheme away, with Skeletor’s face filling the left side of the frame with Evil-Lyn visible over his shoulder. Thinking that it would be a good picture to recreate with the Masters of the Universe Classics Skeletor and Evil-Lyn, I tried – but could not. With the extreme closeup of Skeletor, I couldn’t set up my camera to keep both his face and Evil-Lyn in focus.
No problem! With Photoshop, I knew I could combine the elements I wanted from a few different pictures to get the composition I wanted. Best of all, it’s easy. Here’s what I did – you can use similar techniques to put together images that you normally couldn’t with a single shot from an ordinary camera.
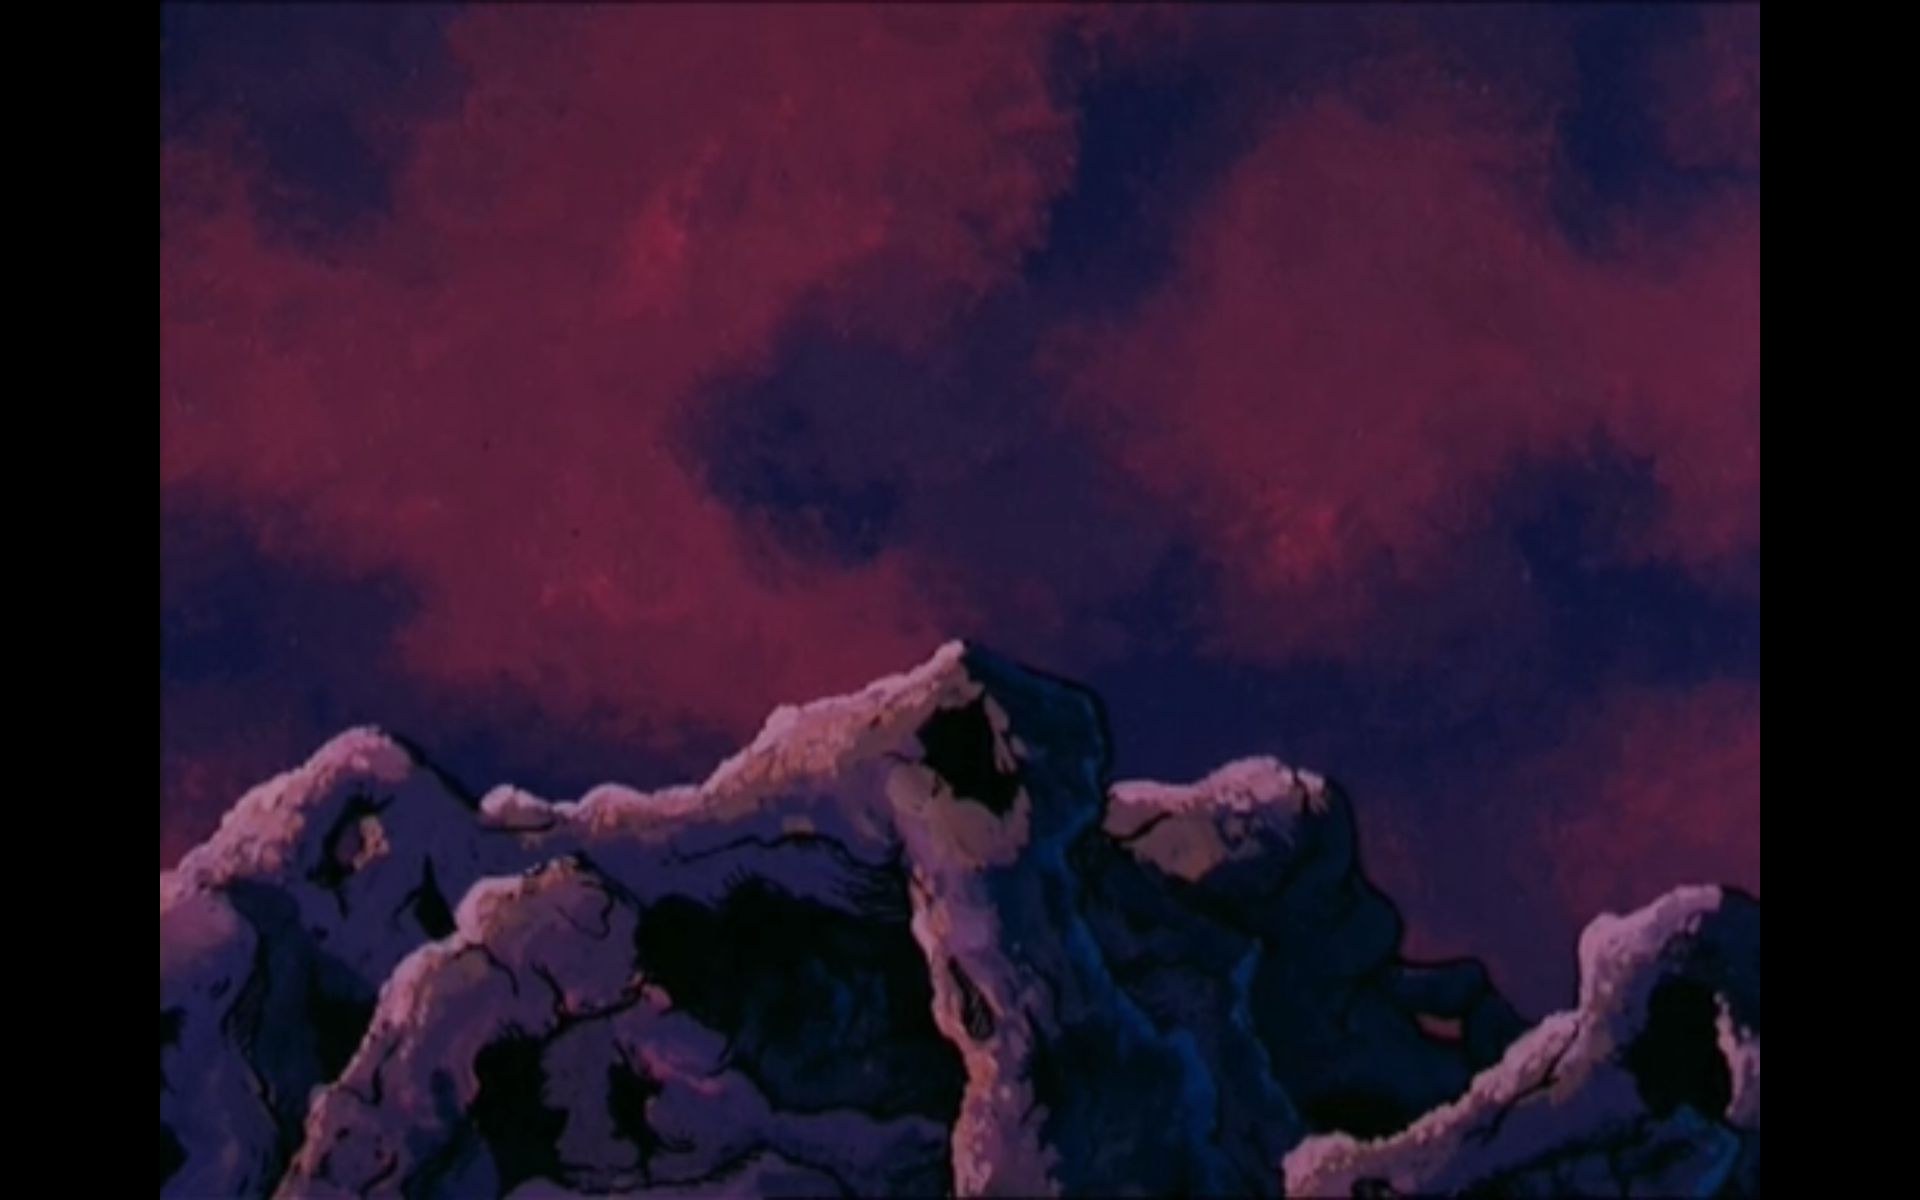
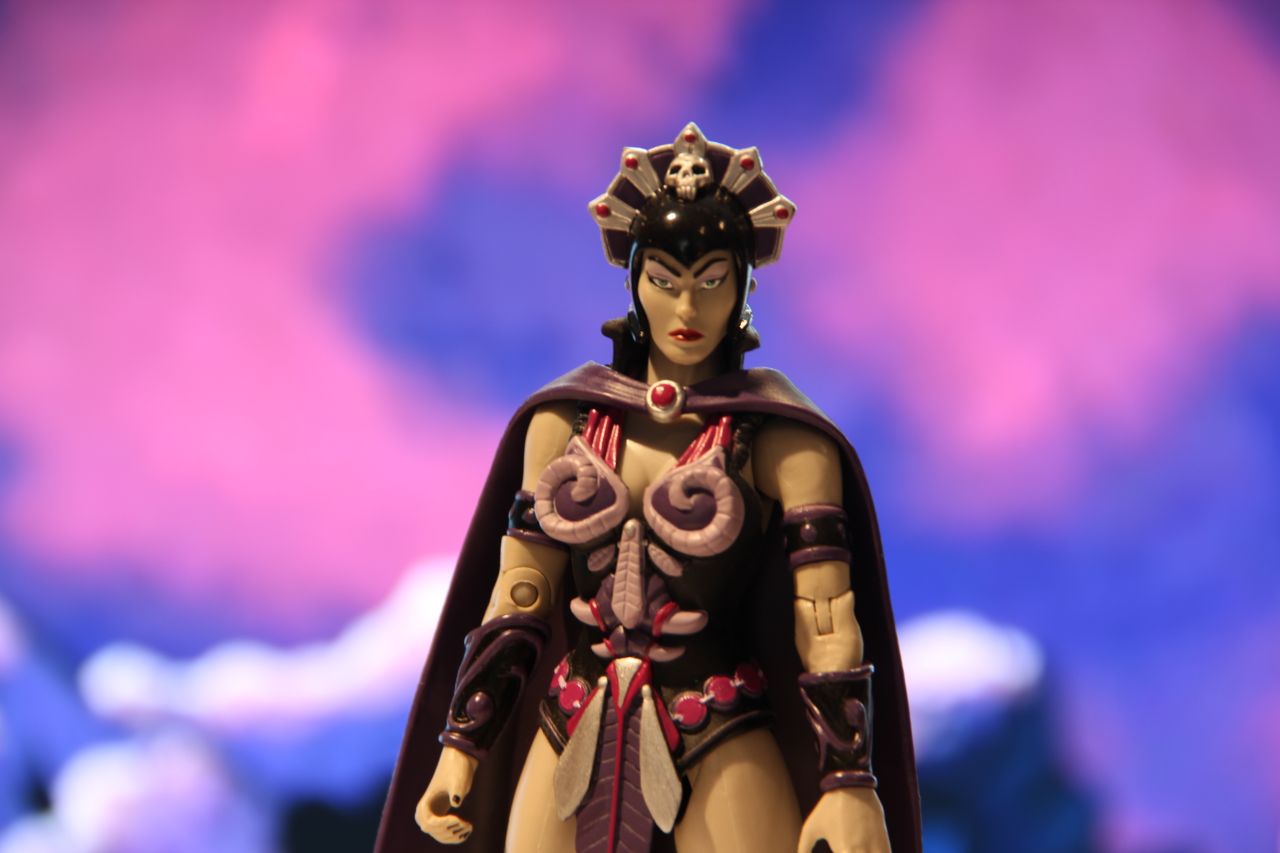
1. Take pictures of the different elements you want to combine. For this shot, I know I wanted three things. First, I wanted to use a background from the show – Masters used a very specific palette for their backgrounds, so I took a screen cap of a frame with an empty sky and horizon. If you need a program for screen grabs, I use Irfanview, a free image viewing program (and more) for Windows. I knew I would want Evil-Lyn in the background with the sky blurred out behind her, creating the perception of depth in the shot, so I displayed the screen cap on my computer monitor and shot Evil-Lyn against it.
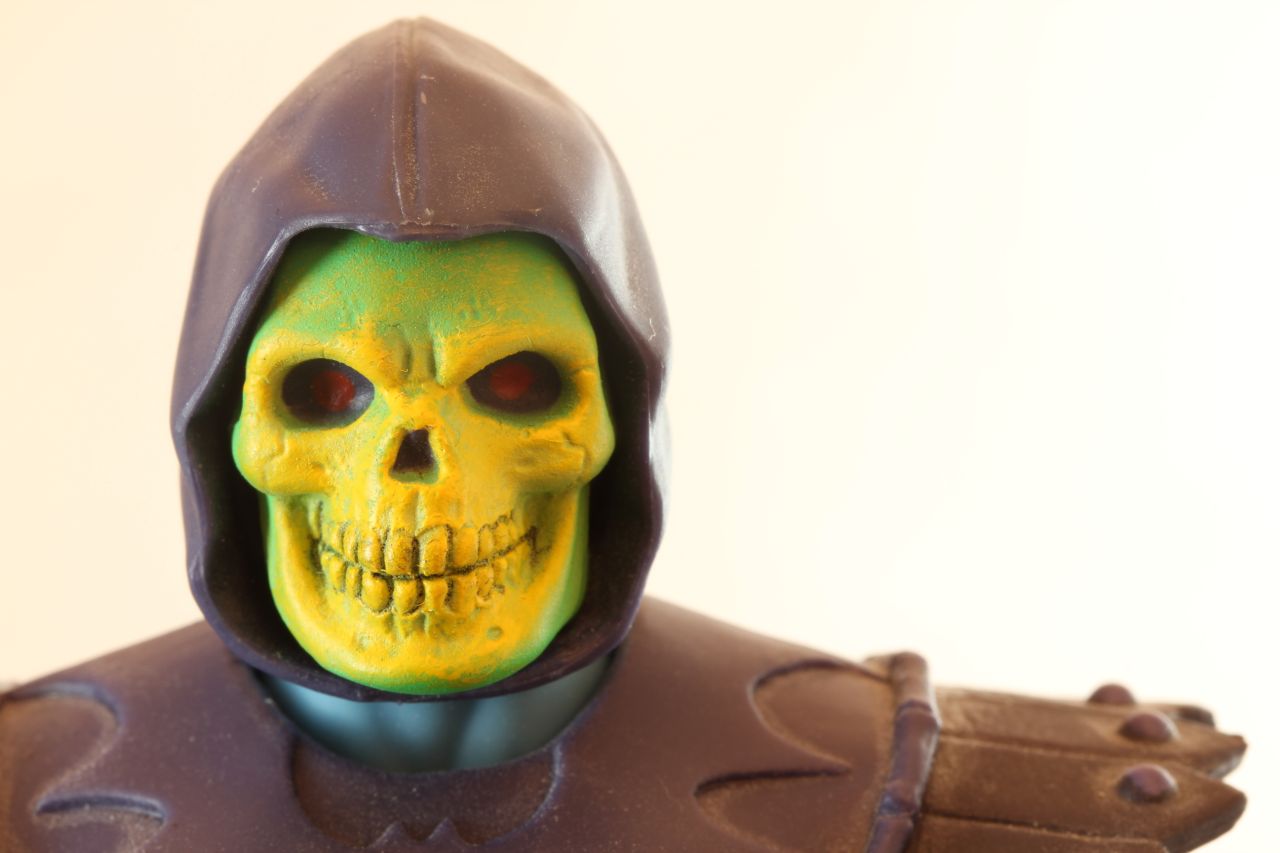
For Skeletor I took an extreme closeup shot against a white background – shooting against a plain background makes it easier to isolate the subject you want. Because I was very close to the figure, I used a macro lens that specializes in taking big pictures of very small things. Macro lenses have very narrow depths of field, so I set the aperture on my camera to a very large F-stop, to keep most of the figure in focus. Letting the camera set the shot up normally with a macro lens, you’d find that Skeletor’s face would be in focus, but the sides of his hood and the back of his neck and shoulders would start to be blurry.
2. Set up the image with the background. I had Evil-Lyn and the background in that single shot, so I opened a new Photoshop image and pasted it in. I noticed that the original shot was a little blurry – the byproduct of not having proper lighting in front of my computer. In Photoshop, you can use Filter > Sharpen to help with that. I knew I would need to shrink down the original image, so I used Irfanview to do that before I pasted it in, since Irfanview has the option to sharpen when you resize. I also used Edit > Free Transform once I had pasted into Photoshop since the original shot was a bit slanted.
3. Isolate the elements from the other pictures that you want to add. With the dark figure against a white background, it becomes very simple to get only what you need. First, I opened the Skeletor pic in Photoshop and used Layer > Duplicate Layer to create a copy – I do this so in case I mess up I can start over easily with the original layer. Then, I used the Magic Wand to select the white background.
Even with high contrast images, you’ll find that the Magic Wand can produce jagged edges. If you’re very meticulous and have some time to spend, you can expand the image and add and subtract to the selection, pixel by pixel. I normally don’t have a lot of time, so a shortcut I use to correct jagged edges is Select > Modify > Smooth. Experiment with how many pixels to smooth out (you can undo and repeat) and then, when you’re happy with the selection, just delete the background. Hide the original layer and you’ll have your image with the background now transparent. I noted that I had some extra background in the smoothed out area between the hood and the shoulder guard, so I used a soft eraser to wipe it away.
4. Copy the isolated element into your background image and use Free Transform to resize and align as needed. Simple enough – now I had Skeletor as a separate Photoshop layer in front of Evil-Lyn.
5. (Optional) Adjust the layers individually as needed. When you have your preliminary image assembled with all the elements together, you may notice some things that need to be tweaked. Since you’ll have your elements as separate layers, you can tweak them separately. I used Image > Adjustments > Hue / Saturation on the Evil-Lyn layer to make a minor tweak to the hue. On Skeletor, I did a few level adjustments using Image > Adjustments > Levels. First, I noticed that the overall image was a little washed out. So using levels, I used the left slider to increase the black levels of the overall layer.
Then, I wanted to bring back a little of the red glow in his eye socket. I used the Magic Wand to select the eye socket, and then used Select > Modify > Contract so as to exclude the border of the eye socket. Then I used the right slider on levels to bring out the red.

6. Blend the foreground elements by blurring the outlines of duplicate layers. When you combine elements like this, you will notice that there’s a visible outline between them (highlighted in red in the picture above). To minimize this, I used Layer > Duplicate Layer to create a second Skeletor. With the top layer selected, I used the Magic Wand to select the background, and then Select > Inverse to select Skeletor.
Next I used Select > Modify > Border to have only a thick outline of the image selected. You want to have enough of the outline so you can have a decent amount of blur. I used Filter > Blur > Gaussian Blur.
With that done, I reduced the opacity of the blurred layer to soften the blur and have a smoother transition. One other tip when you’re working with multiple layers – if you link the original and blurred layers at this point, you’ll save yourself time if you need to adjust the placement of those elements later, as they will move together.
7. When everything looks good, File > Save for Web, and you’re done! I hope this will help those of you trying to put together more complex images using Photoshop. Please share your Photoshop tips and tricks by entering a comment in the Leave a Reply section below.
Note: I am using Photoshop 7 (thanks Pabs!) which is several versions behind the latest. I expect some of the menu selections may be different. One of these days I’ll upgrade.
Nice article – bookmarked for future reference.
Bookmarked as well. I use Gimp, but I should be able to do everything here.
Great post about the easy Photoshop tips for difficult compositions. This pics editing is really gorgeous. It’s looks too much beautiful. Hoping will attract all and sundry. Besides, It’s impressed me too much. Any way, are you want to learn Photoshop image editing ?
http://www.clippingteam.com/