As someone who never got to collect Star Wars action figures as a kid (I was so deprived, right? ;-)), it’s been a real pleasure getting the Hasbro Star Wars Black Series figures. With Gentle Giant acting as the design studio much like the Four Horsemen have from DC Universe Classics, what the first wave has given us is a very good mix of detailed sculpt and articulation, with serviceable paint apps. The result is a group of action figures that look great and are very photogenic, and I’ve enjoyed snapping pictures of them.
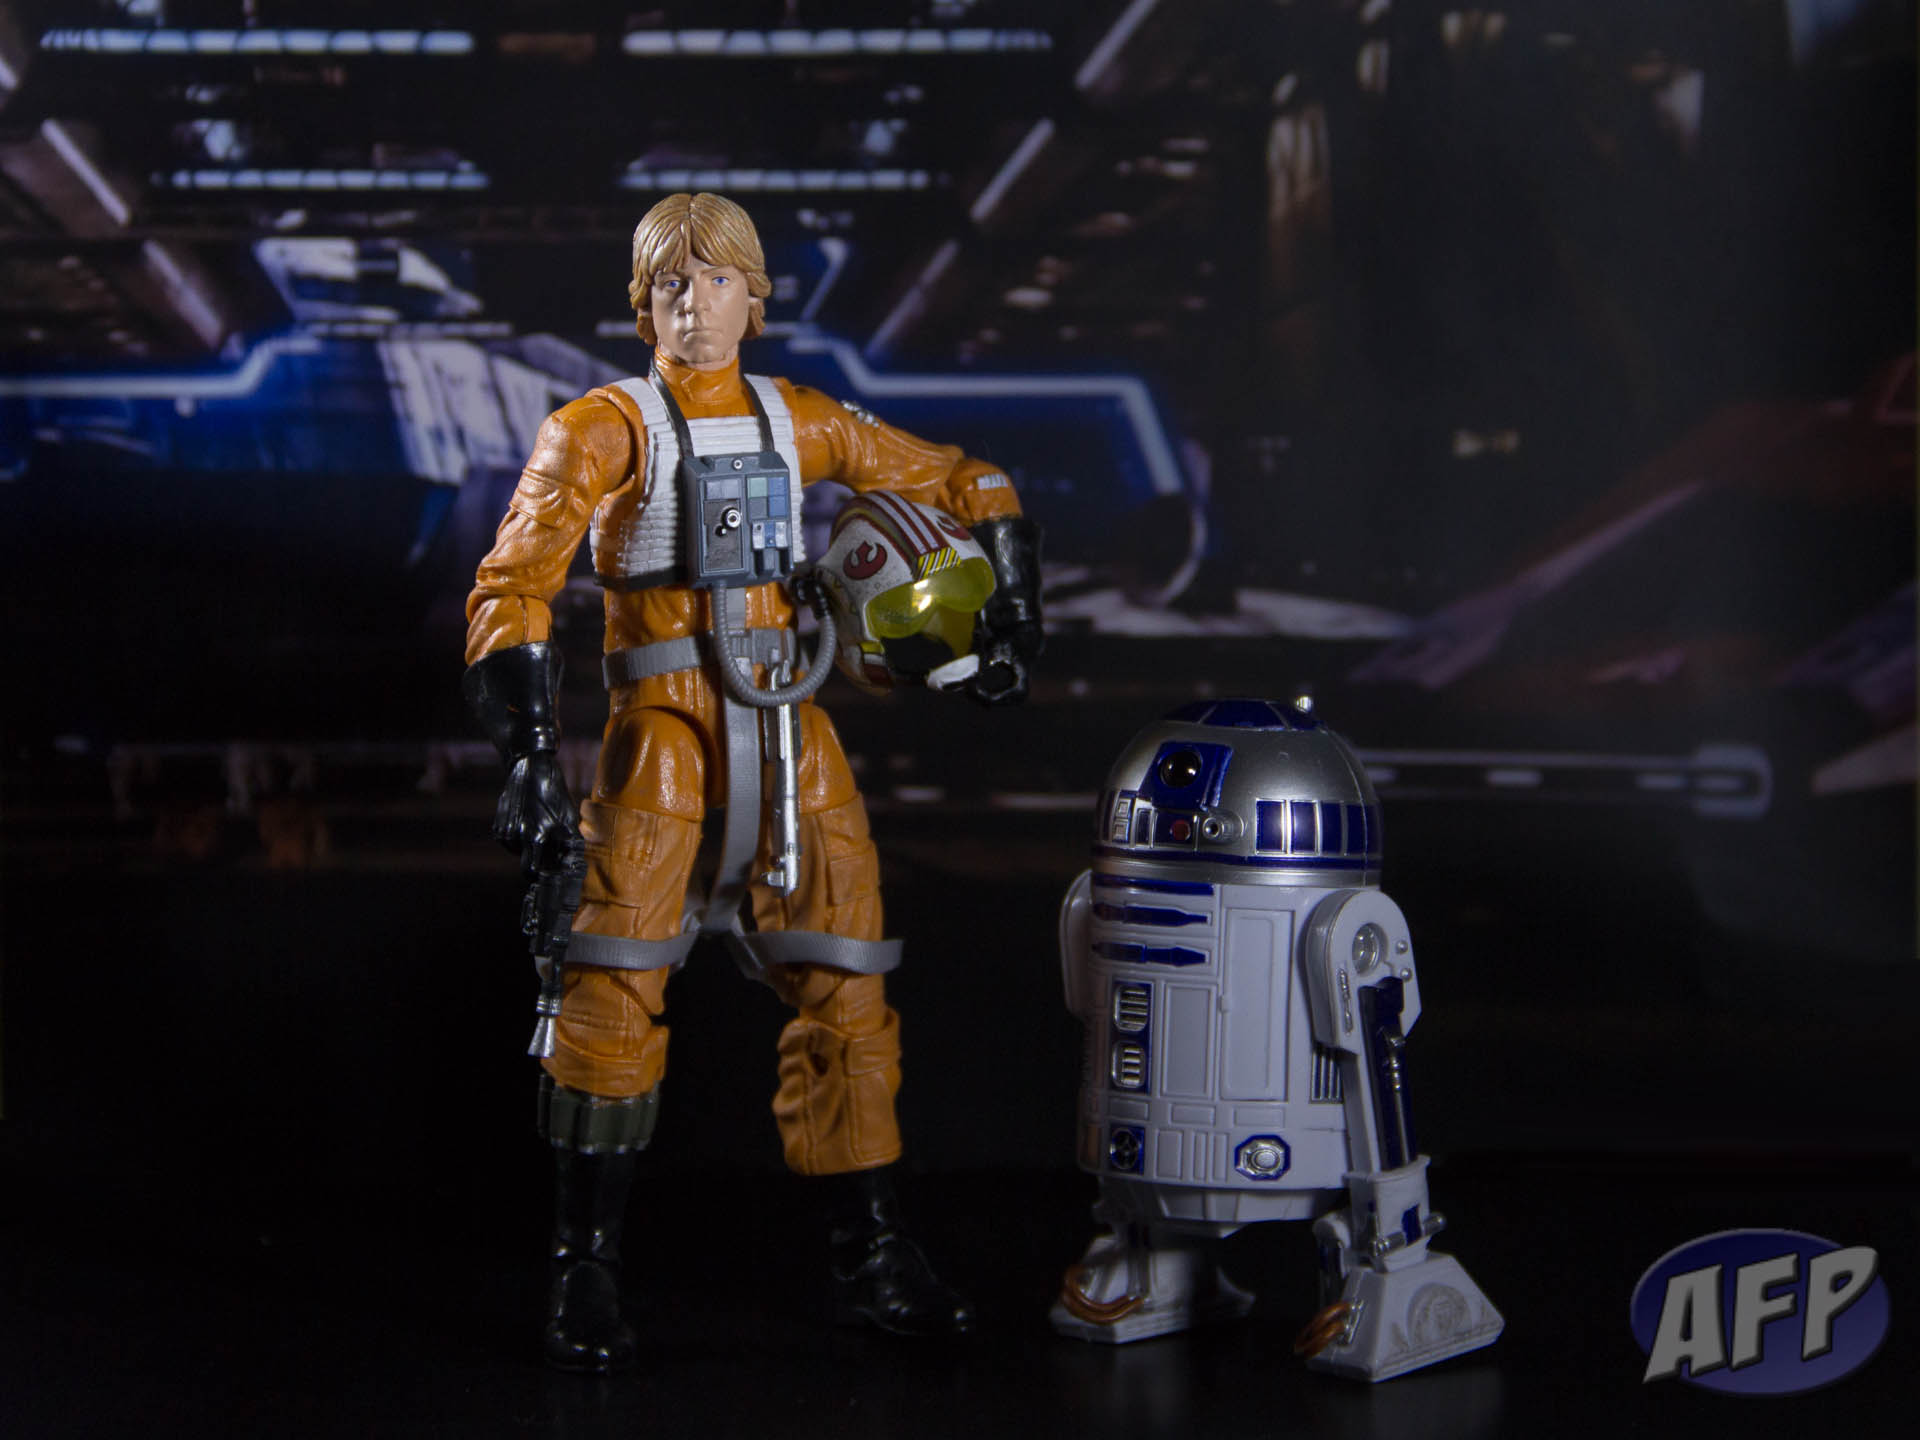
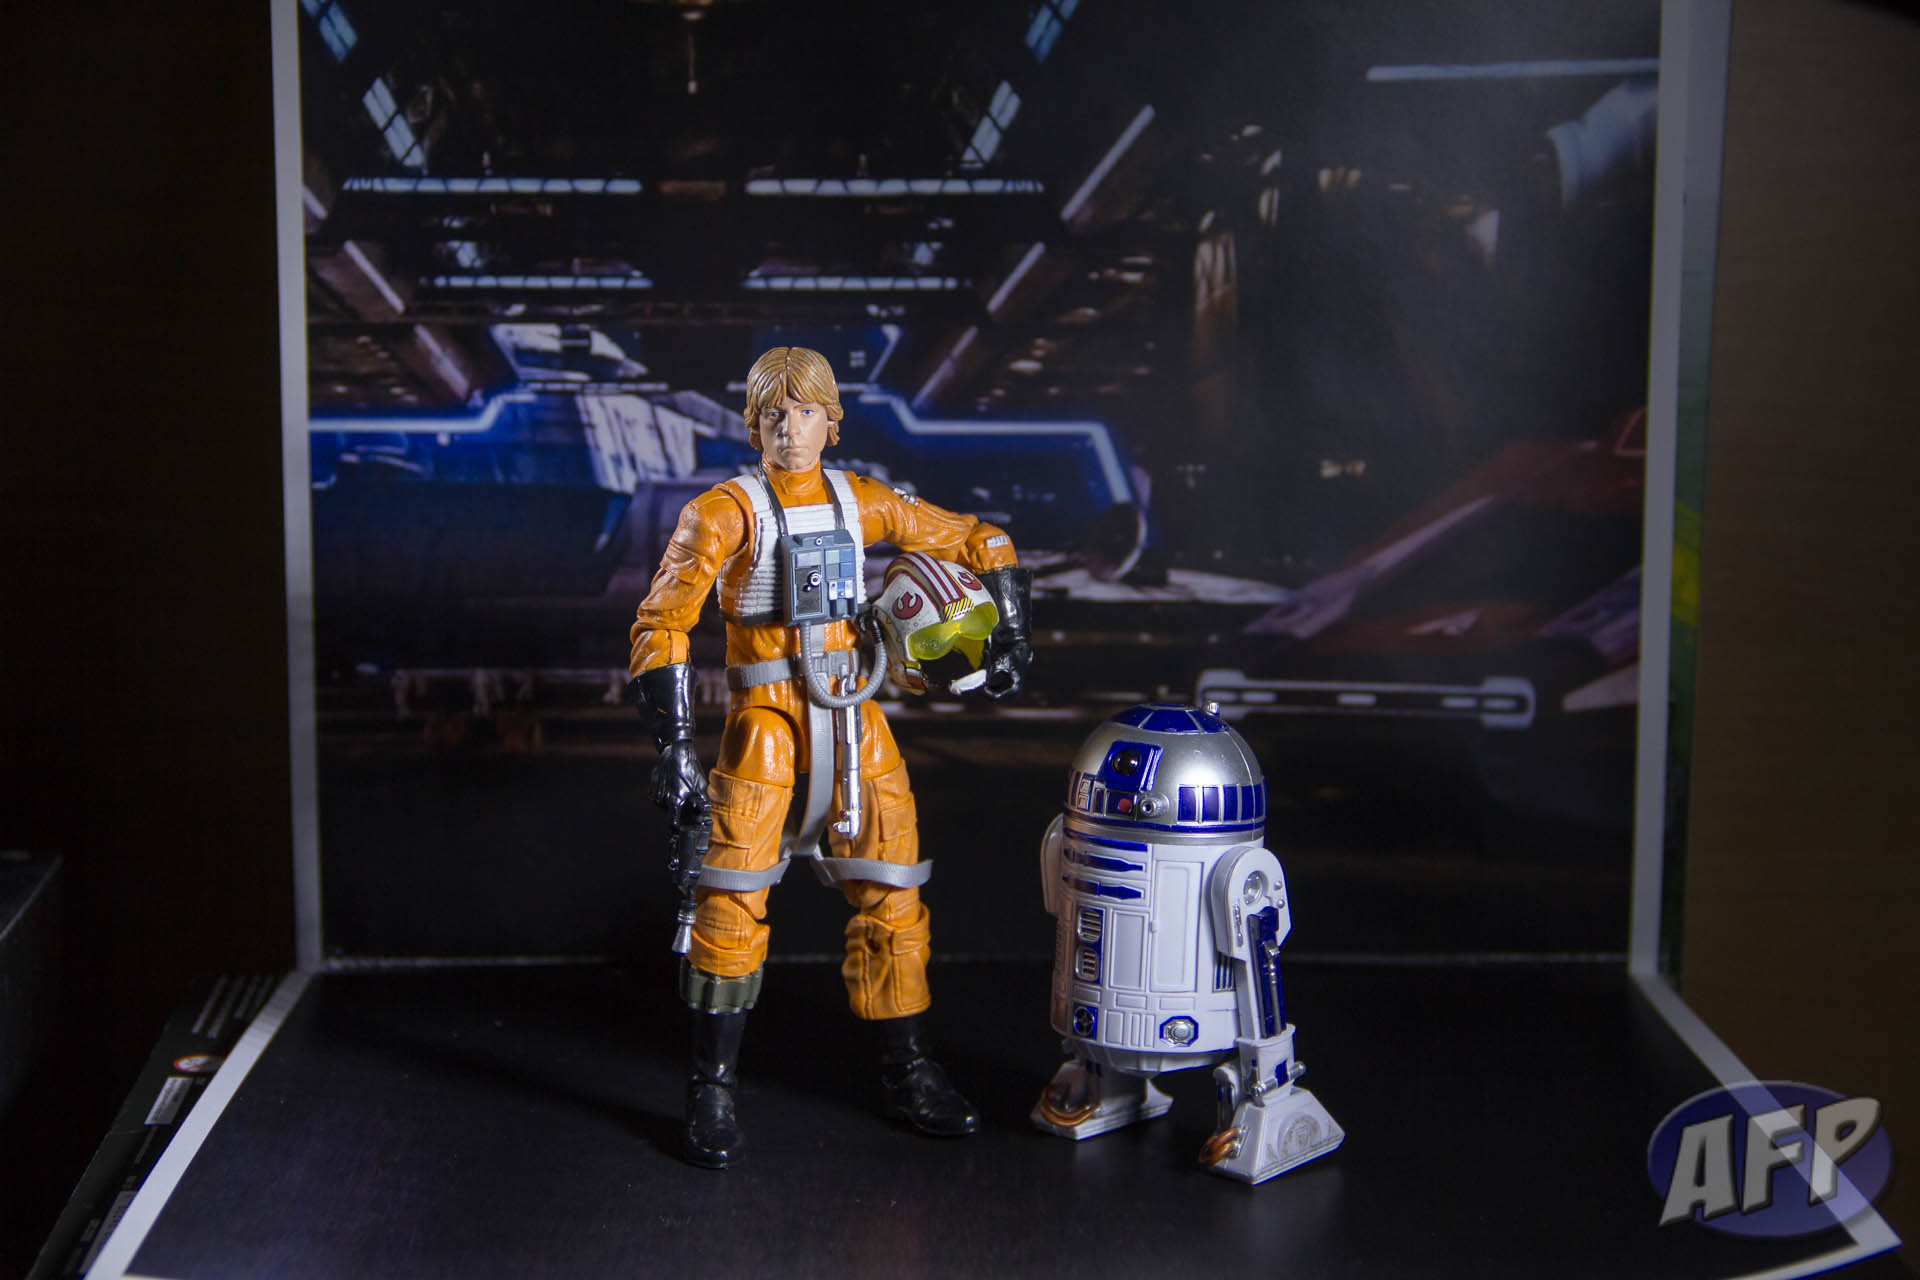
One shot I wanted was Luke and Artoo in a flight hangar, before their run at the Death Star. I think the shot of the figures came out nicely, but the backdrop was only a limited success. In this post, I’ll share how this shot was created.
What I really wanted was a backdrop that included an X-Wing fighter in a hangar. But unfortunately my Google Image Search prowess let me down – I never found a suitable image that didn’t already have Luke in it, climbing on board. (Coincidentally, that’s the image they used on the nifty Black Series packaging for Luke.)
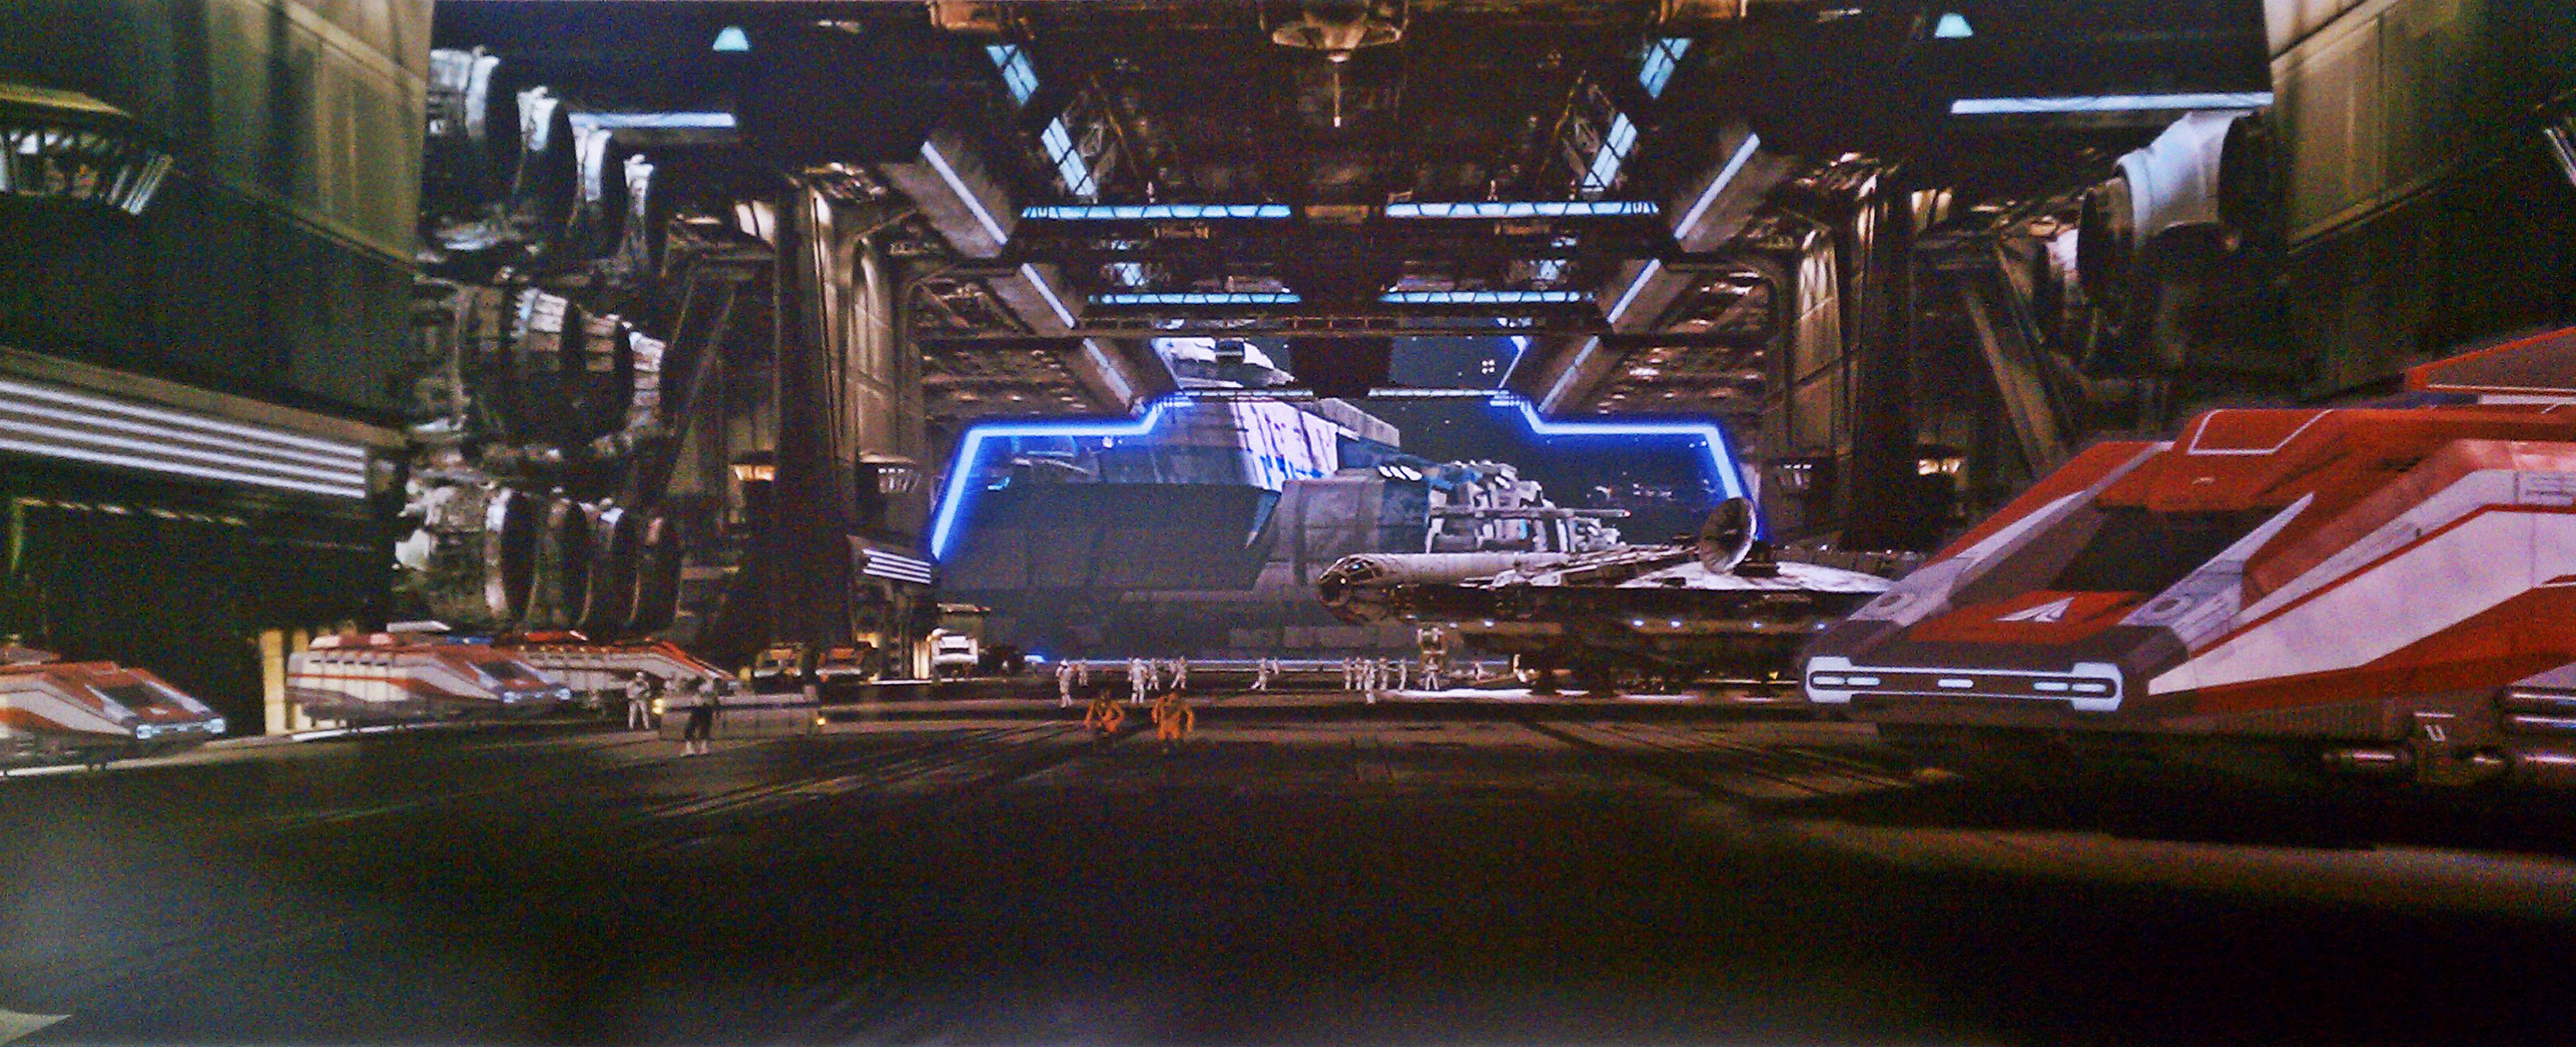
Eventually I found the image above – it’s actually from the entrance to the Star Tours ride. Although I looked for a cleaner copy, I couldn’t find one that didn’t have a ton of noise – the speckles in the dark portions of the image. So the first step was using Photoshop to clean up the image. Filtering to reduce noise did a lot very easily, but I did manipulate the curves for each of the color channels separately to get more noise out of it.

Next, I manipulated the cleaned up image to split it into top and bottom halves. I just followed the steps I previously outlined in my How To Create Your Own Photo Backdrop post from a couple years ago. The idea with this particular framing is that it would have the Millennium Falcon in the background. However, I should have taken into account that the figures would obscure it – I should have had it more on the edge of the frame instead of in the center. Also, the bottom half of the image is fairly dark – there’s probably no benefit to the lighter areas that are stretched out, so I could have just tried my regular black back drop for the “floor” of the shot.
Finally, here’s a shot of the backdrop set up for the pictures. For lighting I used a pair of Sunpak 30 LED DSLR/camcorder lights. They make them primarily for shooting video – they fit in a standard camera hot shoe and provide constant, adjustable light. I think the units might be a little on the weak side for video, particularly in large, open areas, but for lighting action figures they work out great. I’ve recommended LED book lights before, but those are more useful with spot lighting, while the Sunpaks provide brighter and broader lighting. From a price standpoint, I was able to pick up the Sunpaks cheaper from Woot.com for around $30 and change.
The other benefit of using a portable lighting solution is that you can experiment with placement. For this shot, I had the lights placed diagonally across from each other at around 10 and 4 o’clock. That gave some shadows across Luke’s face but nothing too drastic and harsh. For the light in front, I angled it parallel with the backdrop – light shining directly on it would give some unwanted reflections. You can see some of that in the top right corner. For more dramatic lighting, you could place the lights at 9 and 3 o’clock, or an even more dramatic effect at 10 and 2 o’clock.
Let me know if this helps with your own photos, or if you have any tips for me. Thanks!
A nice swamp scene or Bespin scene would be nice.
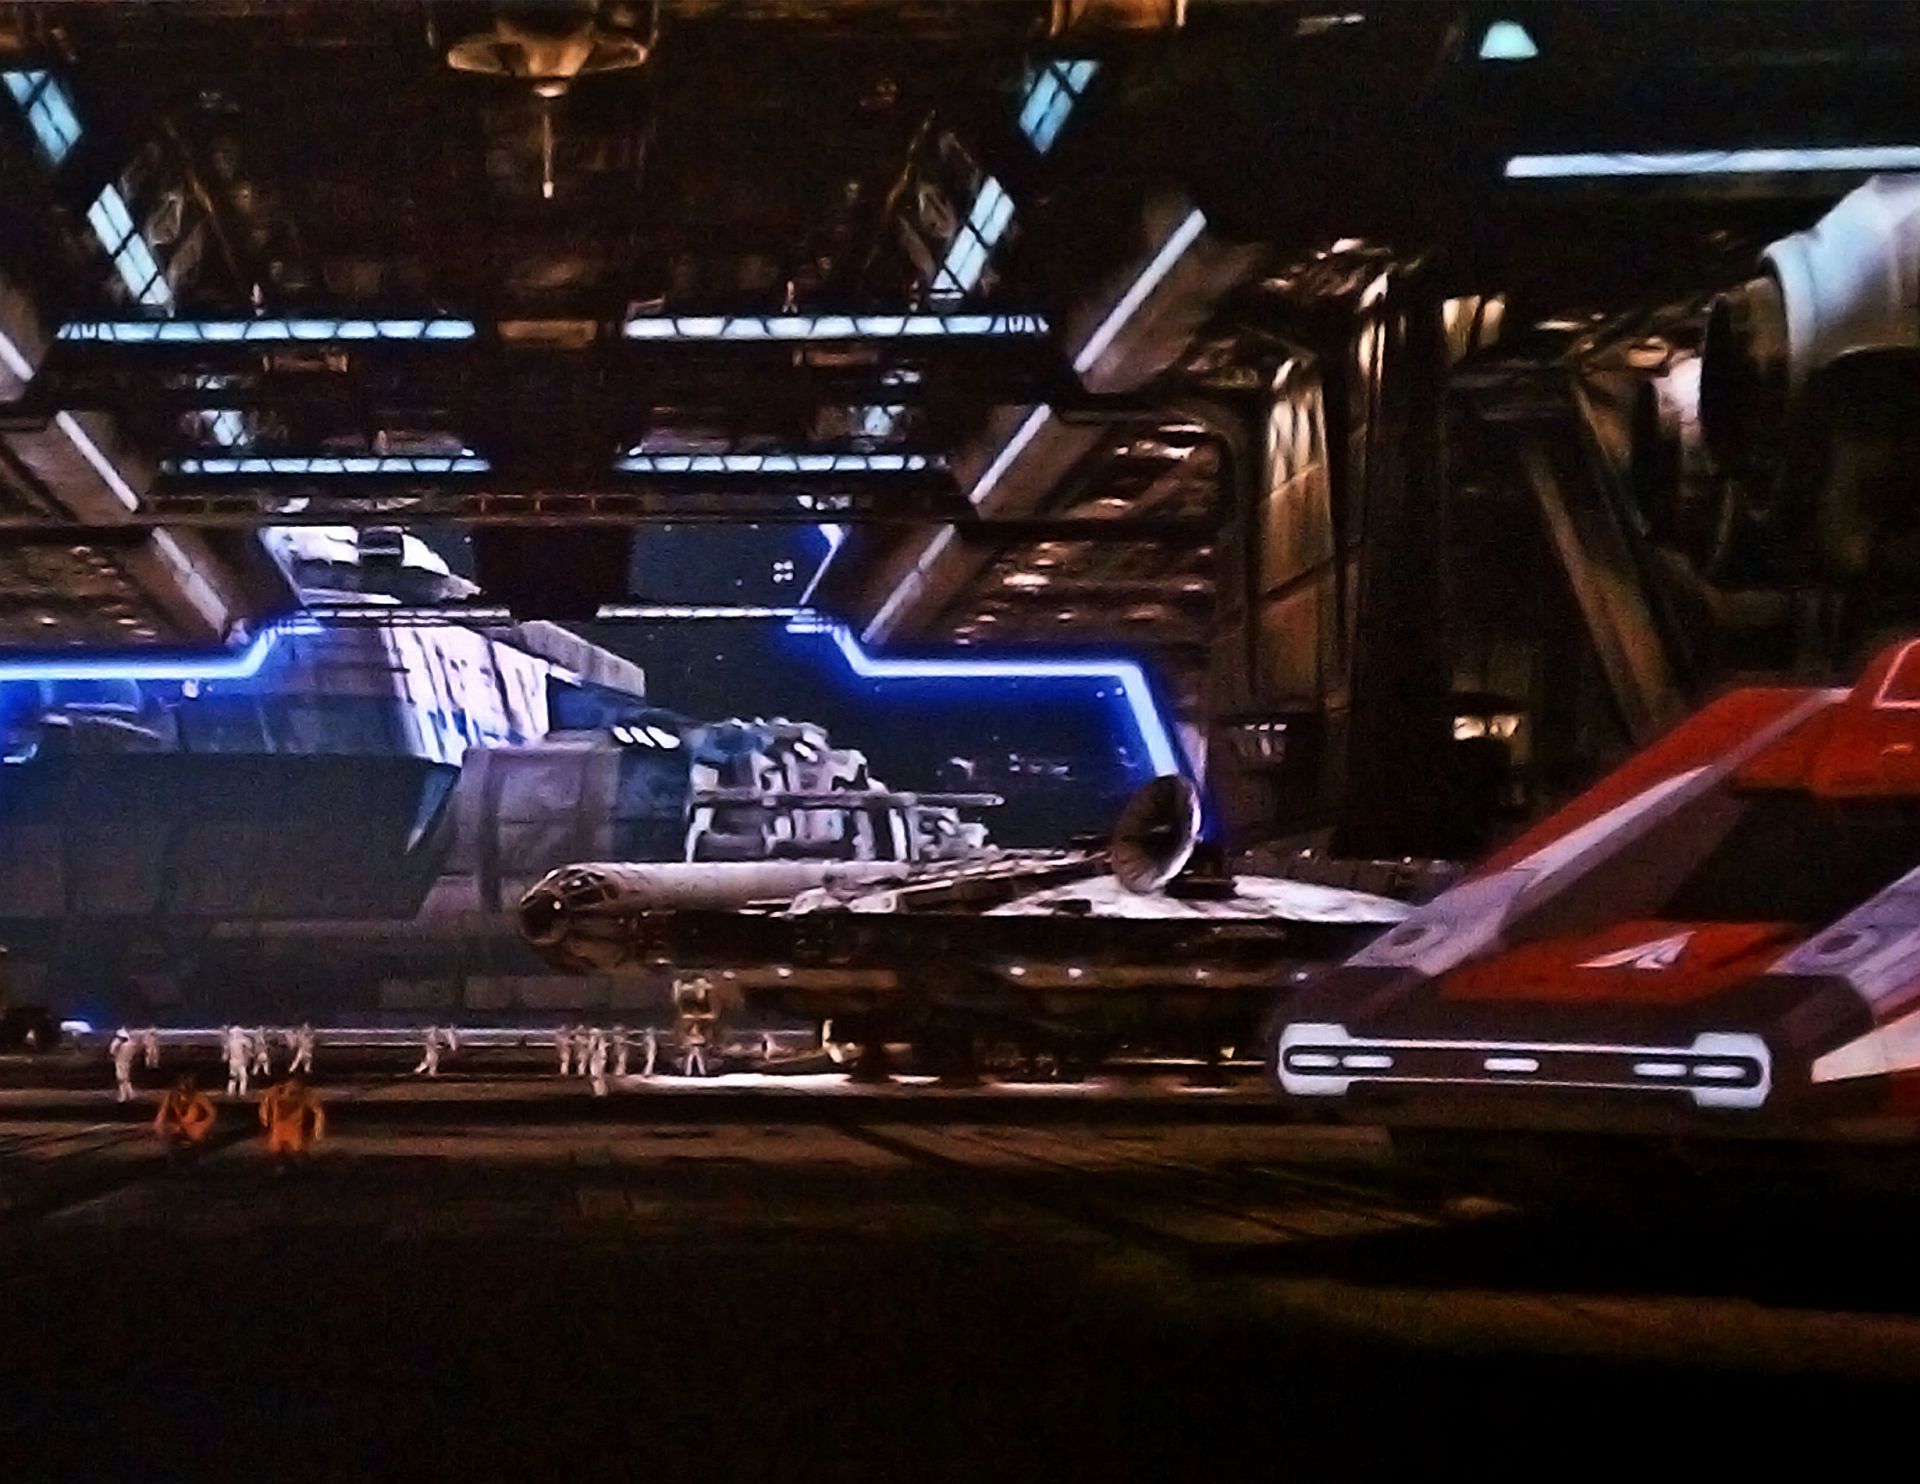
Here’s a clean version!!
@Fernando – thanks!