
I normally don’t spend any time retouching my photos. There’s something very satisfying about composing a shot, lighting it just right, and snapping a great picture. It’s those rare moments that I think that maybe I should start using the nofilter hashtag. But increasingly, I find myself taking the quick and dirty shot – the one where I’ve set up a figure in front of my computer monitor in my poorly-lit home office, holding an LED light in one hand and my camera phone unsteadily in the other. It usually takes five clicks to find a pic that’s even in focus.
It’s those shots that sometimes need help, and the tools, like Adobe Lightroom, are getting better and easier to use. Previously, I’d only used Lightroom to process pictures taken at events on my DSLR in RAW format. It makes the tedious work of cropping, adjusting exposures, and watermarking a little less so. And because I’m a self-taught amateur, I didn’t even know I could use Lightroom to make quick adjustments on the JPG files that my camera phone shoots.
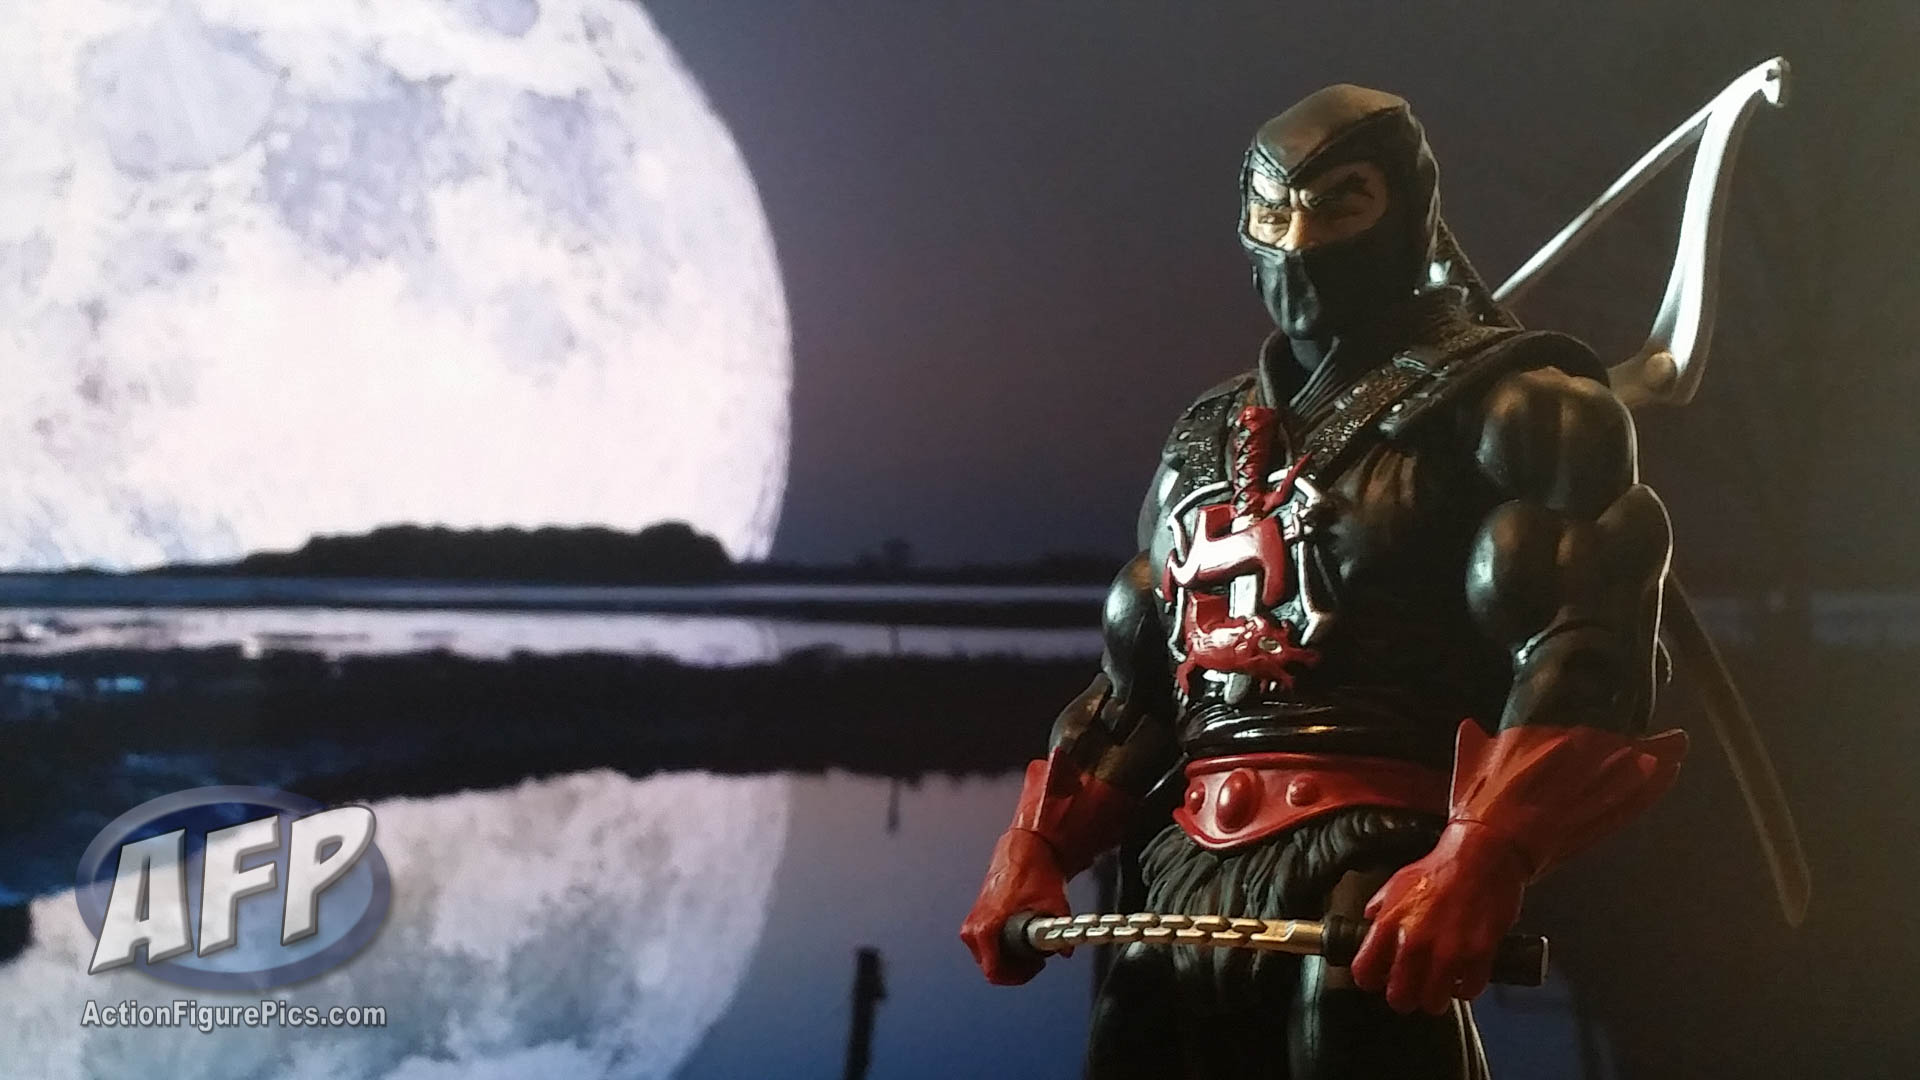
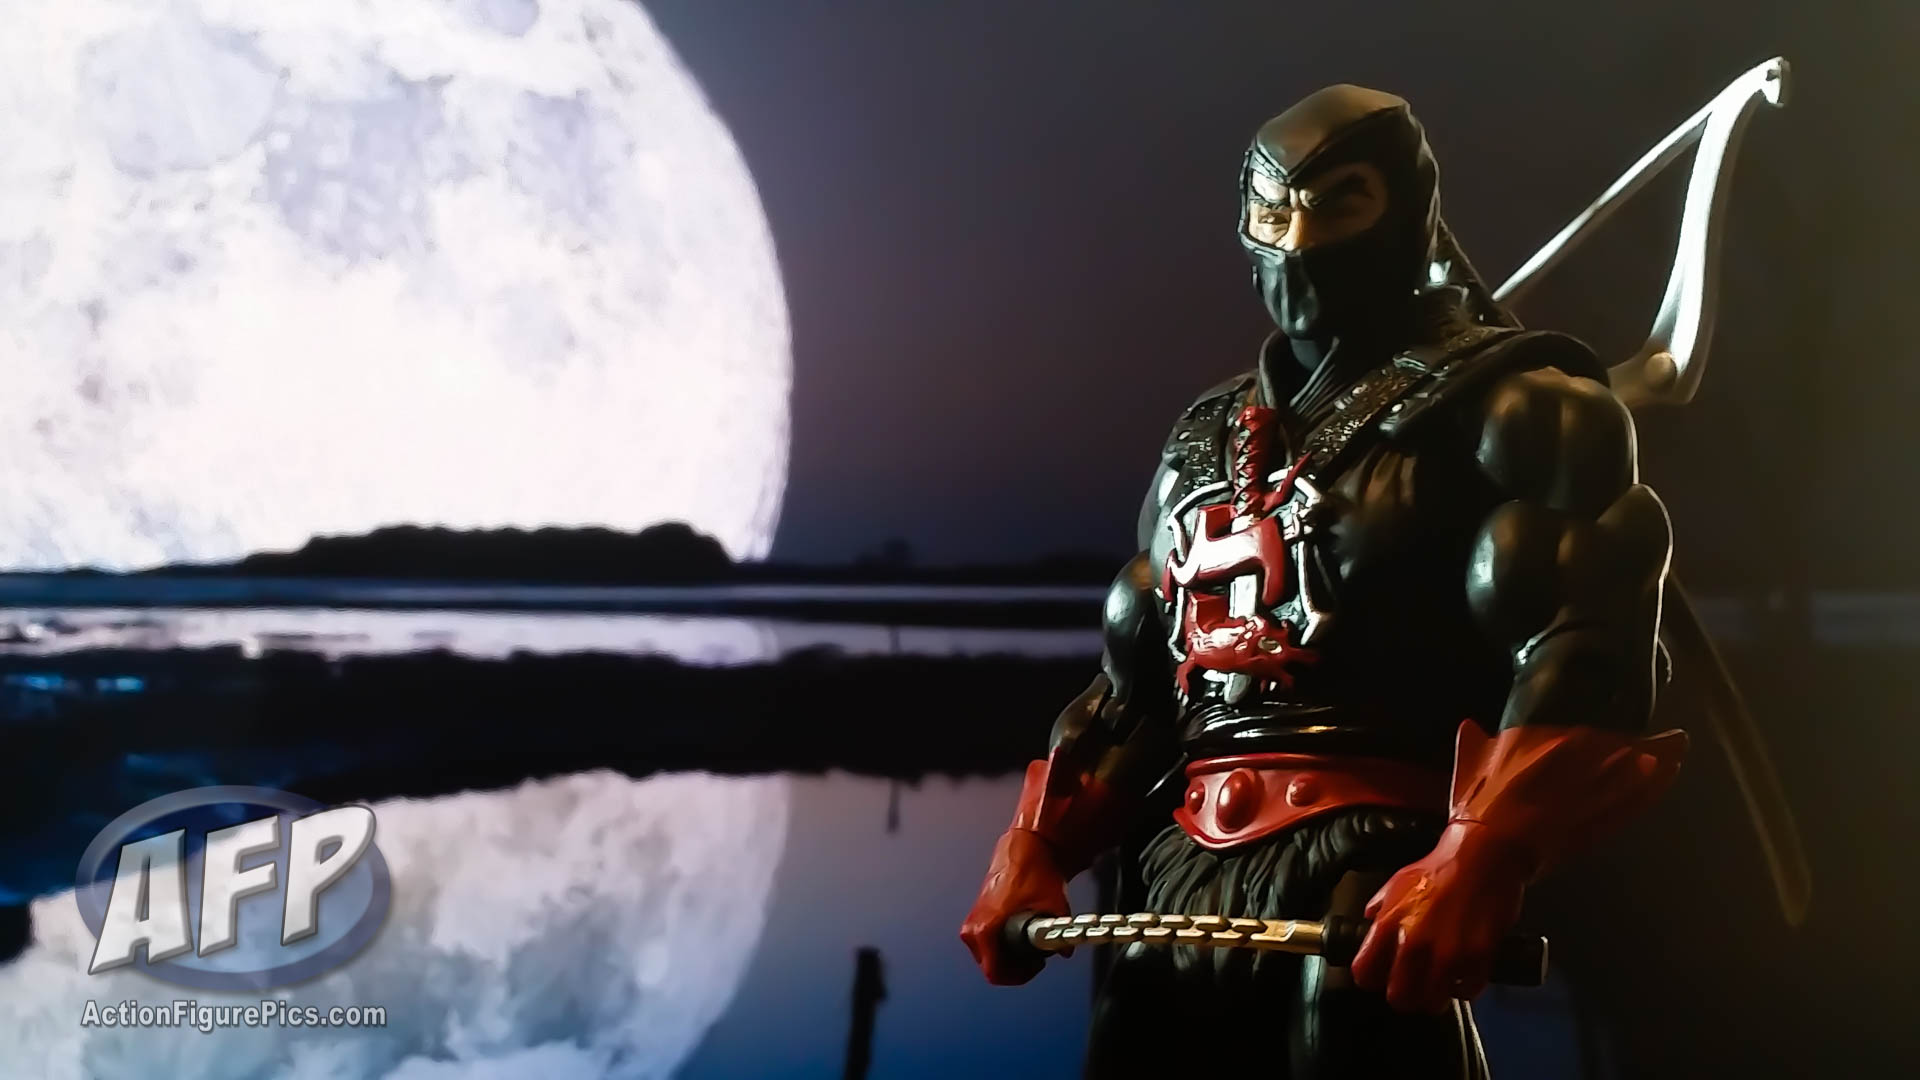
Now, because I want to stay true to the “quick” here’s three Lightroom tips that you can use in just a couple of minutes to clean up that “dirty” shot. I’ll use Jitsu, shot one-handed with my camera phone, as an example. (I recommend maximizing your browser and clicking on the photos, to view them at their largest, with the fewest artifacts from JPG compression.)
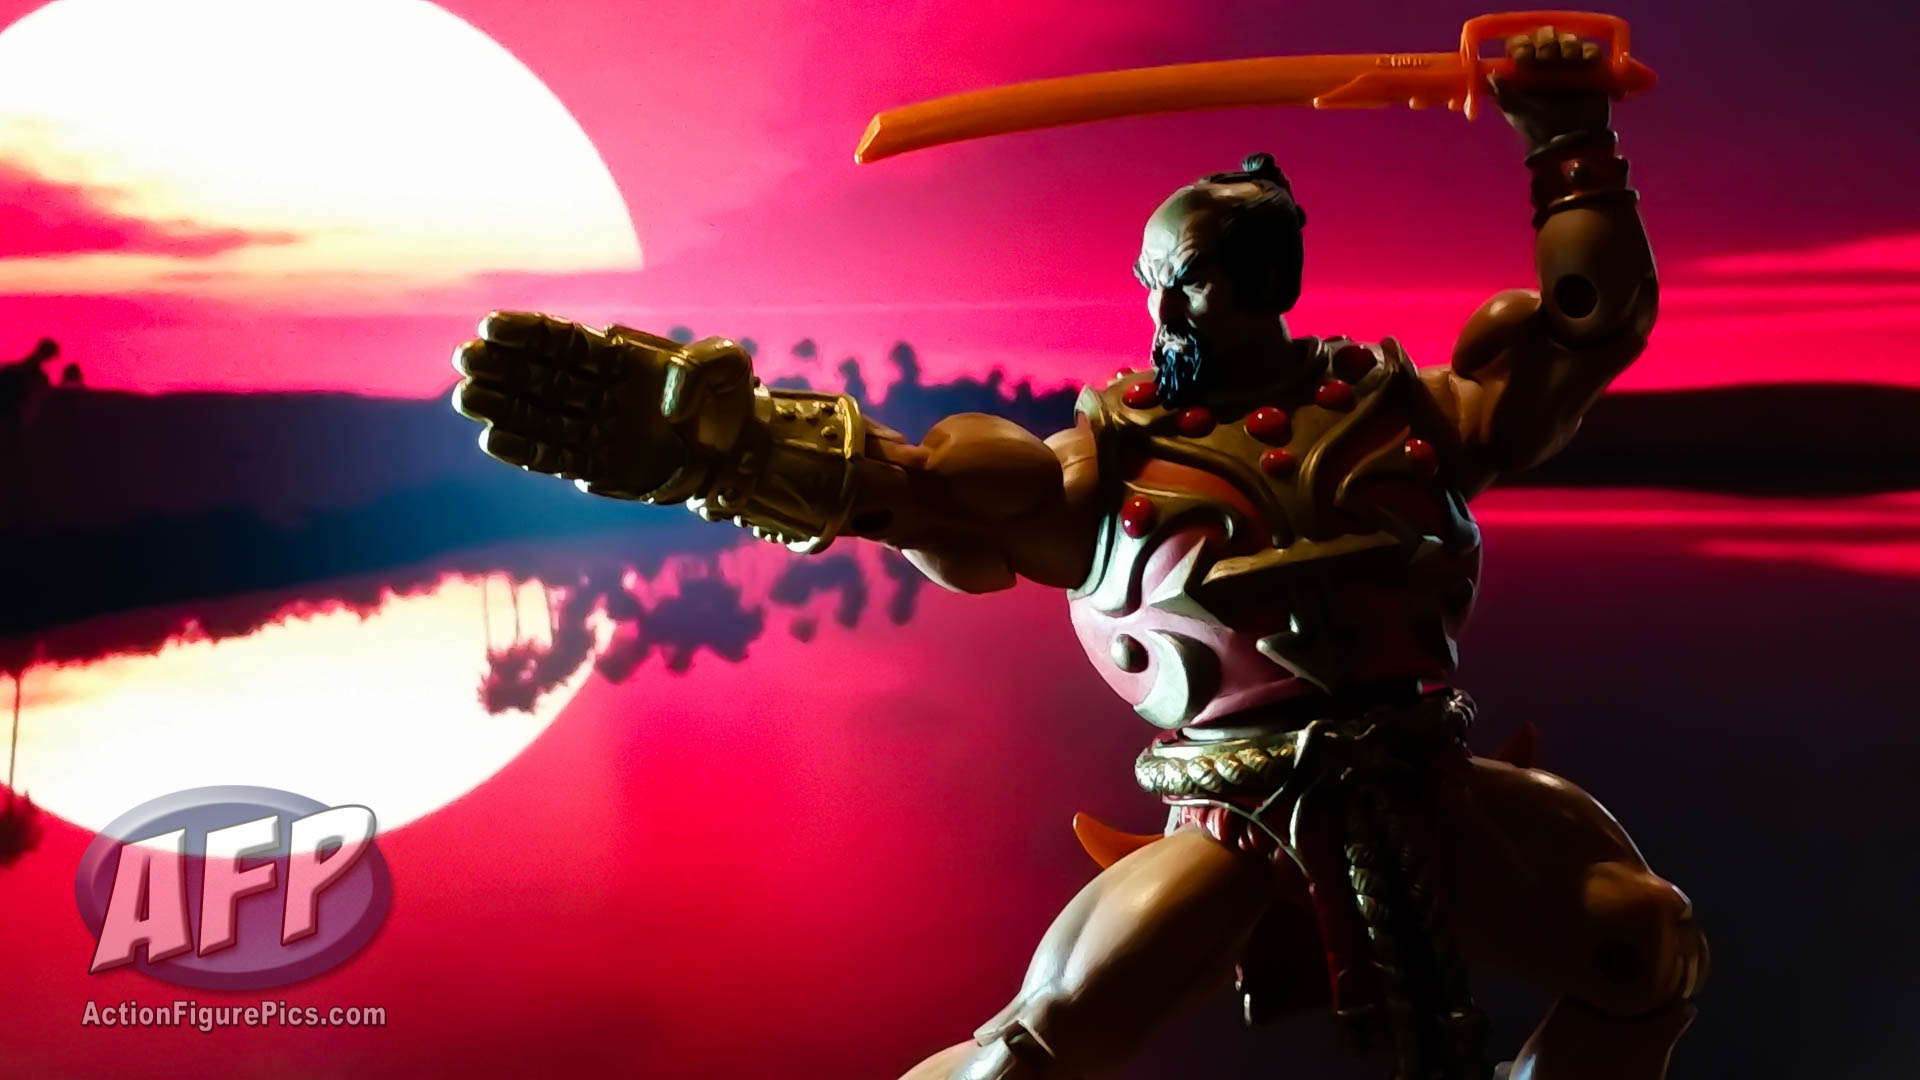
Let me start by talking just a little bit about the original picture. I have been a huge fan of the photography of Matthew K – he’s by far and away the best I know at composing and shooting pictures of action figures that tell a story. A while ago, he was shooting a photo feature of the Masters of the Universe Classics Jitsu – my favorite character from Masters – and graciously shared it here.
My quick and dirty shot is a homage to a sequence of shots in his set that featured Jitsu practicing the “secret kata” while silhouetted in front of a setting sun. Beautiful stuff (Matt K’s, I mean!) While I liked the composition of my own shot, the most in focus one I got was both a bit grainy and washed out.
Step 1 – Luminance slider (Detail – Noise Reduction)

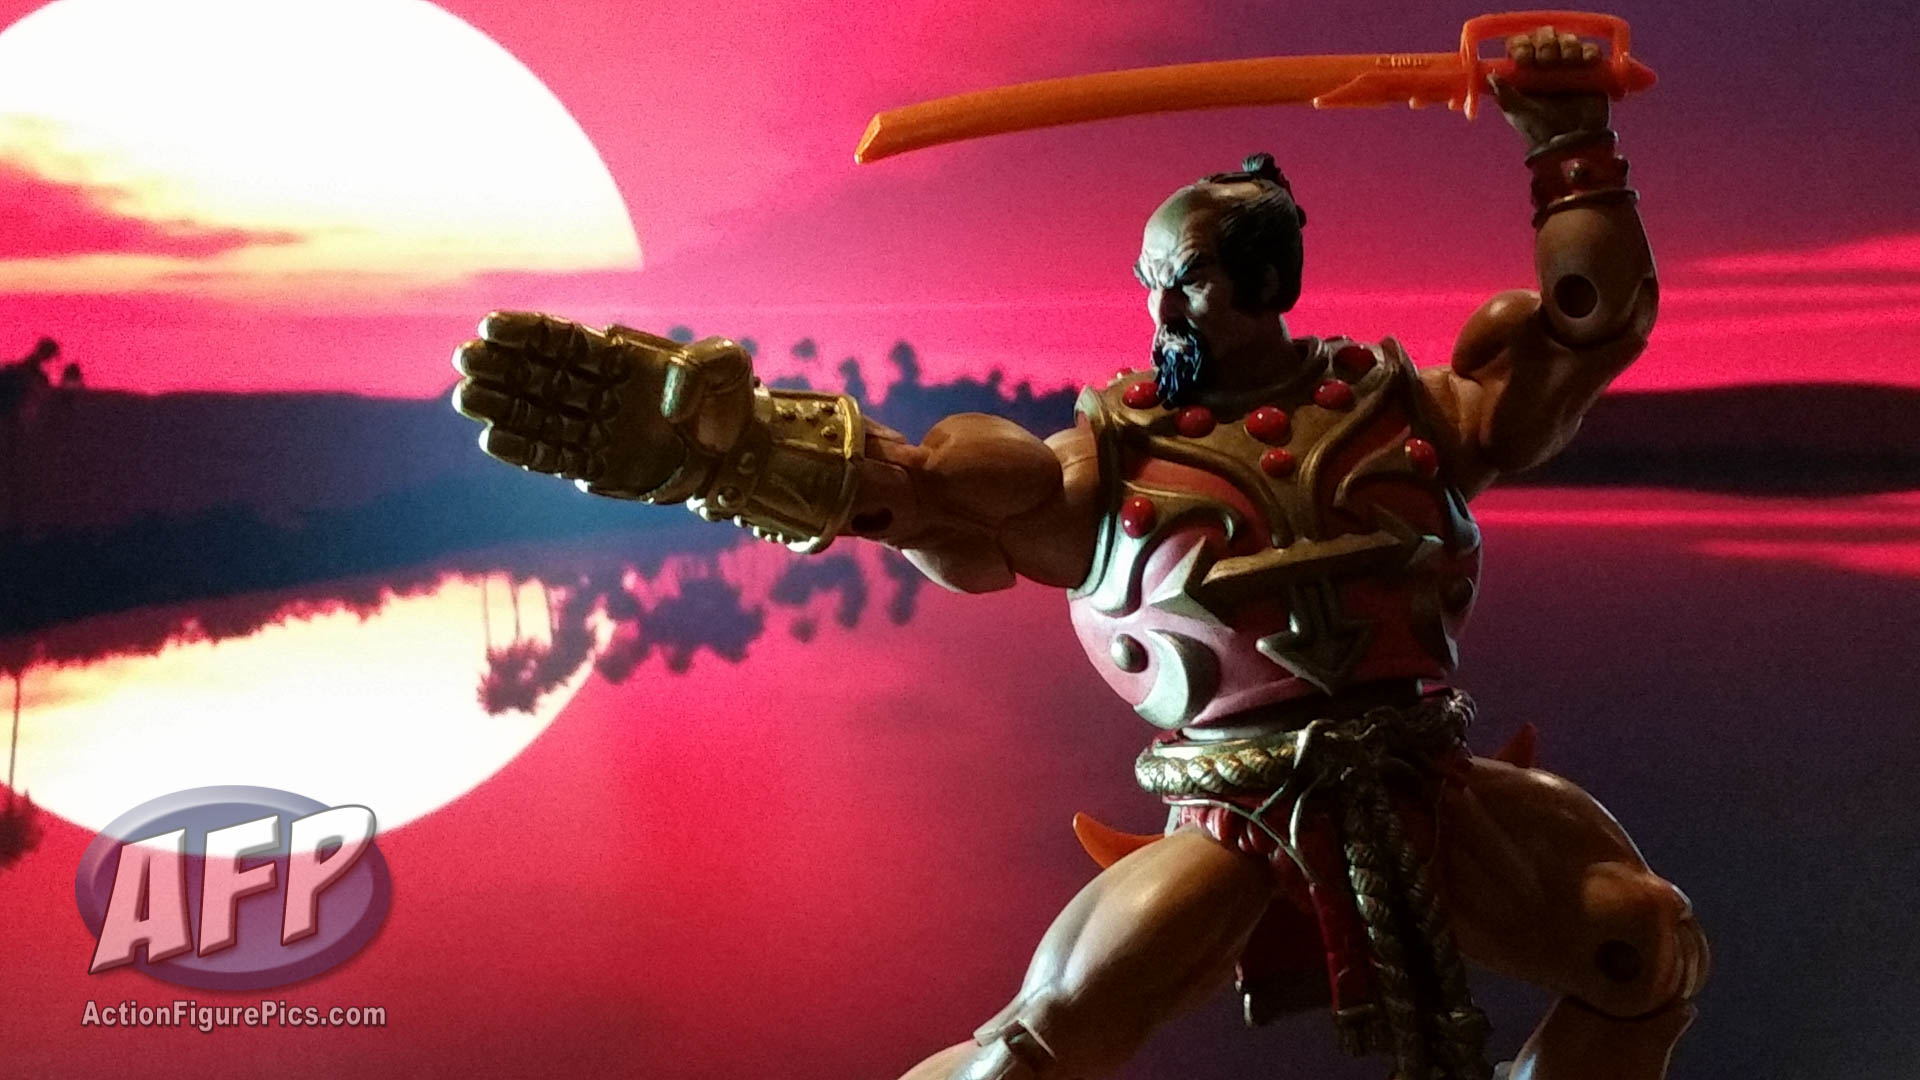
When you are “developing” a picture, on the right side of Lightroom you’ll see several action panes that you can use to adjust a picture’s attributes. The first step is to use the Luminance slider under Noise Reduction in the Detail action pane. The more you increase it, the more graininess you remove. In this case, I slid it all the way and made it completely smooth – any artifacts you see remaining are the result of JPG compression to optimize the size of the picture (to improve download times and reduce bandwidth usage).
Step 2 – Sharpening slider (Detail)

One side effect of smoothing out the photo in the first step is that some of the detail that you do want to see gets a little blurred. It’s a small price to pay to remove the noise. To counteract this, I increase the Amount of Sharpening in the Detail pane – arbitrarily, I went a third of the way to the max. I didn’t want to re-introduce noise.
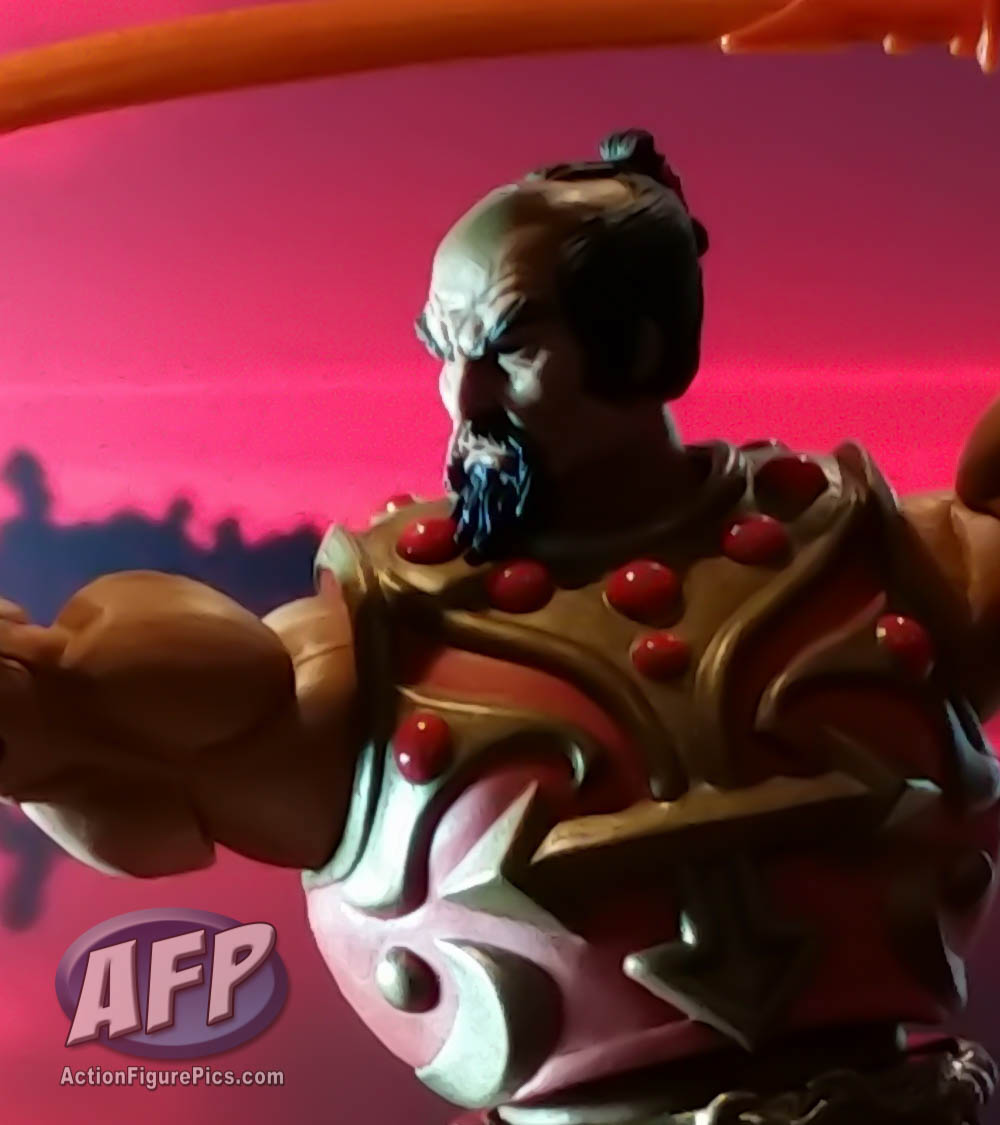
It’s a subtle difference that you may see in the blown up shots of Jitsu’s head – I can see it in his forehead, while my wife notices that the detail on his goatee pops a little bit more.
Step 3 – Point Curve dropdown (Tone Curve)
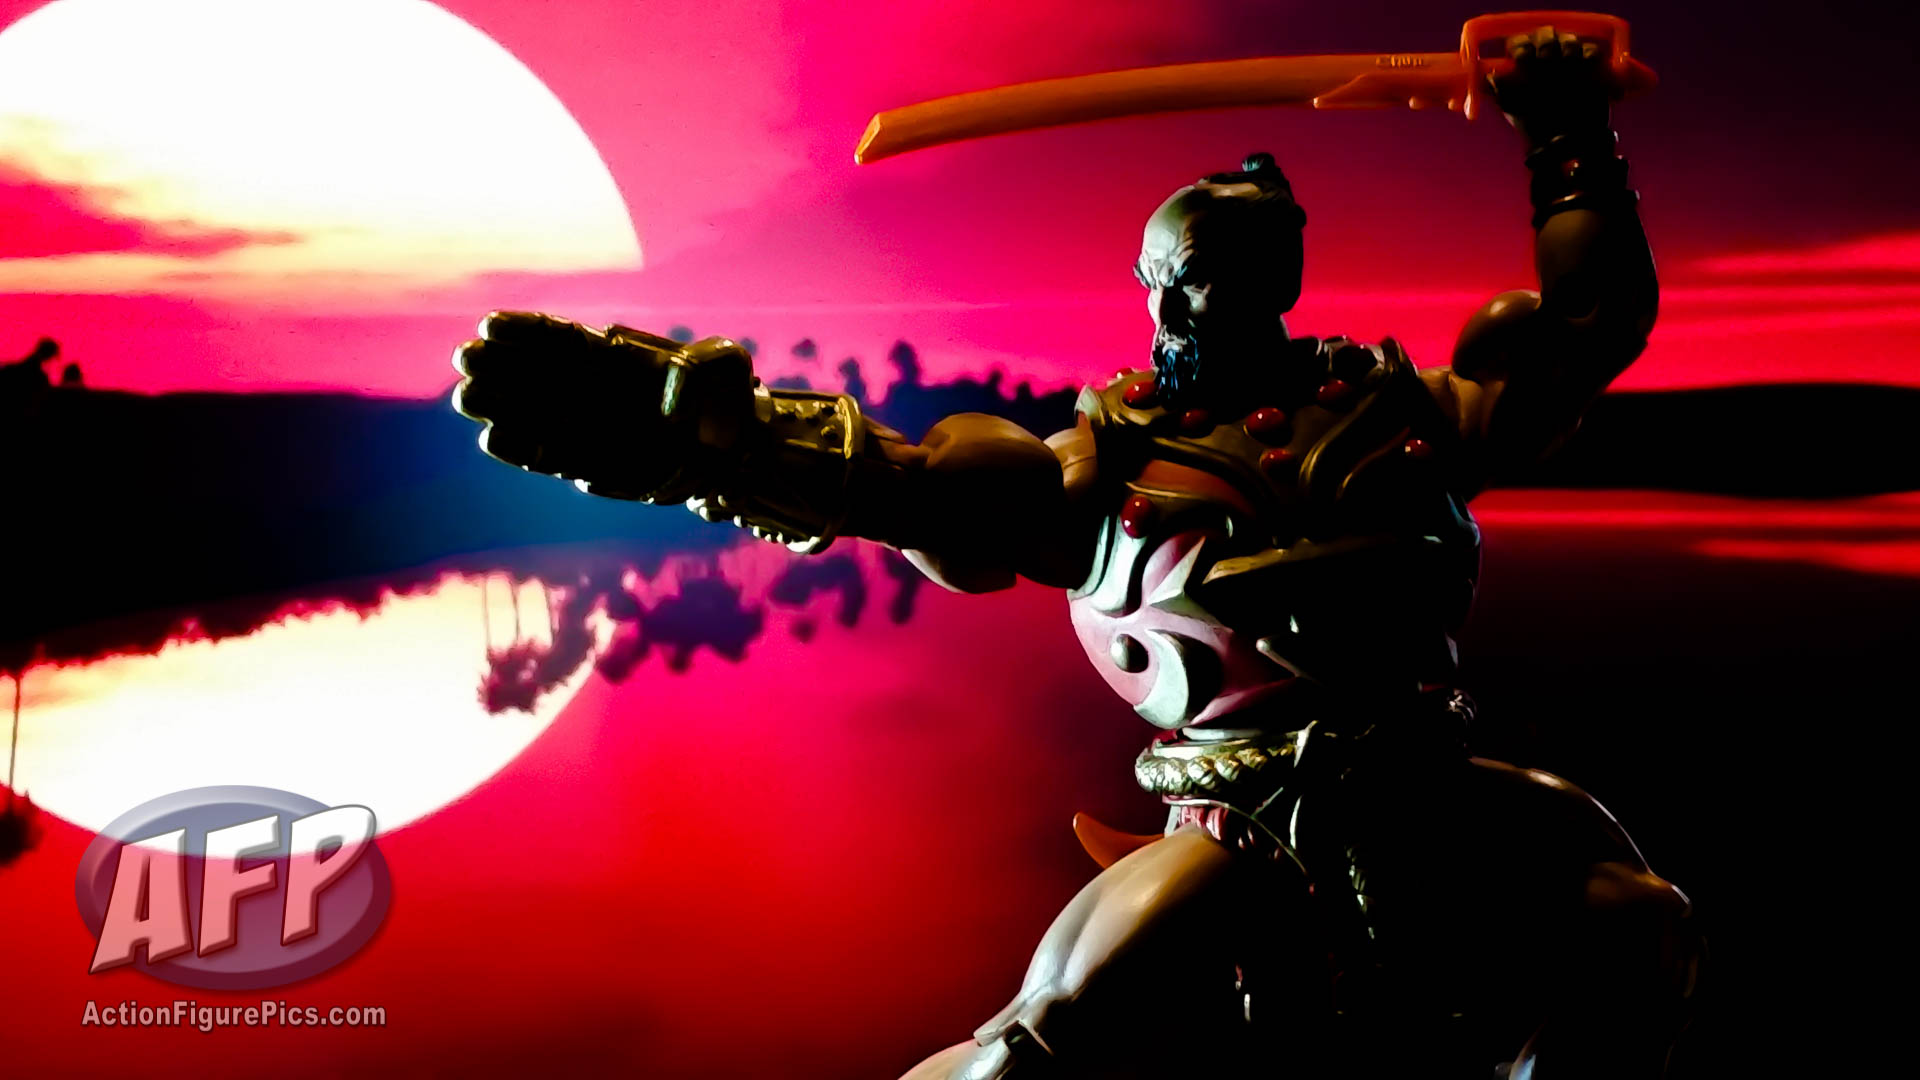
One of the great features of Lightroom is the ability to independently adjust the highlights, lights, darks, and shadows of a photo. To give some pop to a photo that’s a bit washed out, you could use the sliders to make the darks darker and the lights brighter. In the extreme example above, I made the shadows as dark as I could and made the darks about halfway more dark than the darkest setting. While I do like the drama, by making the photo extra dark, it obscured one of the reasons I had for taking it – the alternate belt accessory that shipped with Ninjor, that gives Jitsu a bit of that 200X design flair.
In addition to placing the belt mostly in shadow, that adjustment required that I use two sliders. This is supposed to be quick, right? In the same Tone Curve pane, there’s a drop down for Point Curve – preset adjustments to the curve that allow for linear (no contrast), medium contrast, and strong contrast adjustments. For the final picture, I used the Strong Contrast setting and found that it gave me the look I wanted.
Here’s the original and final shots of Jitsu again, and a bonus before and after shot of Ninjor:
For Ninjor I used the same shot setup (LED in one hand, camera phone in the other) and the same three steps and settings as I used for Jitsu. This time around (because I knew what I was doing) I had the final photo ready in less than a minute. And since I will probably use these same settings on more quick and dirty shots, I’ve saved the three settings as one of my User Presets – now I can the same look with just one click. Consider that a bonus tip!
Have any quick and easy Lightroom tips? Use a different image editing program? Let me know in the comments below.