Quick Pic – Street Fighter Akuma and Ryu, Take 2

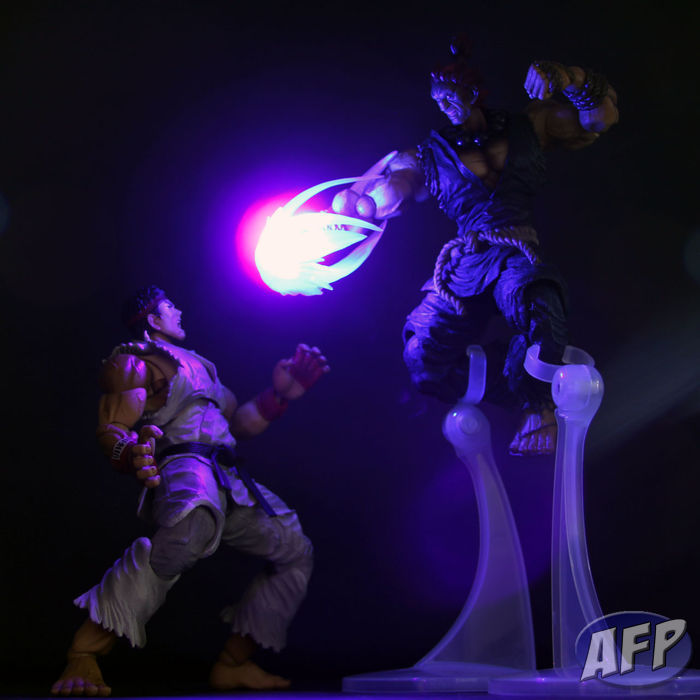
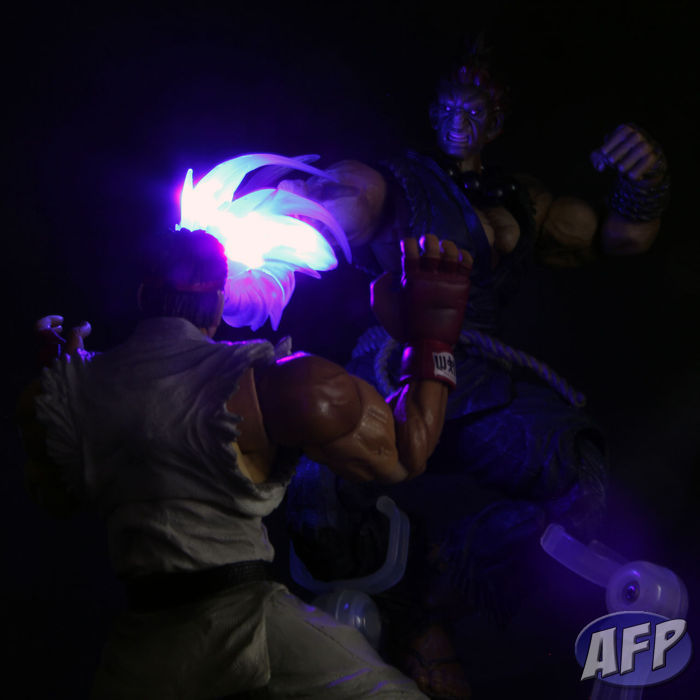
After I posted the quick pic of Akuma and Ryu yesterday, I realized that although I liked the shot, I was stuck in the two dimensional mindset of two Street Fighters on the video game screen. I hadn’t yet dismantled the setup from the day before, so I rotated the scene a little and lowered the vantage point of my camera.

I raised Ryu’s hands up so there’d be a few more spots for the purple light to shine. In hindsight I should have shifted Ryu to his right a little so that the left side of his head would have gotten some light.

Quick Pic – Street Fighter Akuma and Ryu

When I was taking pictures for my laser pointer tutorials, my Akuma from the Square Enix Play Arts Kai Street Fighter line was indisposed. I had actually ripped one of his arms out of its shoulder socket, as the hinge that allows the forward / back motion was fused and ripped when I tried to free the joint. The customer service folks at Big Bad Toy Store were great, and sent me a replacement figure.

Set up for this shot was pretty simple. I shot in the dark with a 100 ISO setting on the camera, so the shutter would stay open for quite a bit of time. I had my LED book lights set to the sides, but pointed away from the figures so only a minimal amount of light would shine on them. Then I used my blue / purple laser pointer and mad made sure to move it all over the fireball accessory while the shutter was open – that way the pic would get a lot of bright light on the fireball itself, as well as throw off diffused purple highlights on Akuma and Ryu.

Square Enix Play Arts Kai Batman: Arkham Asylum – Experimenting with Spot Lights to Create Dramatic Lens Flare

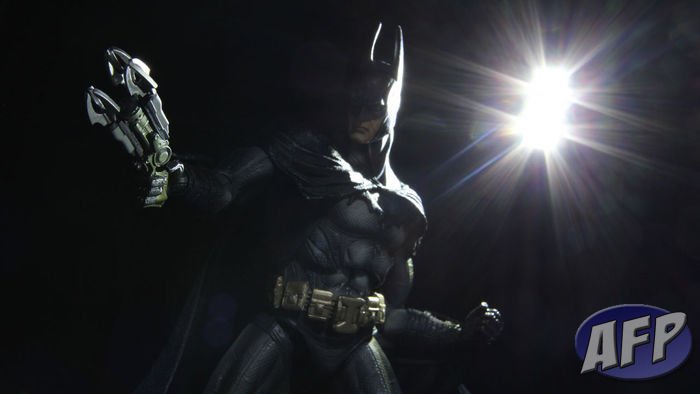
I mentioned that I wanted to experiment with lens flare for drama when I posted the quick fixes for common lighting problems yesterday. Here is my first no-planning-involved attempt, using the Square Enix Play Arts Kai Batman (who is totally awesome, if you actually need me to tell you that). I’ve intentionally set up one of my LED book lights in the shot, knowing that the bright light shining directly into my camera lens will cause lens flare artifacts.

Continue reading “Square Enix Play Arts Kai Batman: Arkham Asylum – Experimenting with Spot Lights to Create Dramatic Lens Flare”

Square Enix Play Arts Kai Batman: Arkham Asylum – How to Fix Some Common Lighting Problems

Arkham Asylum 2.jpg

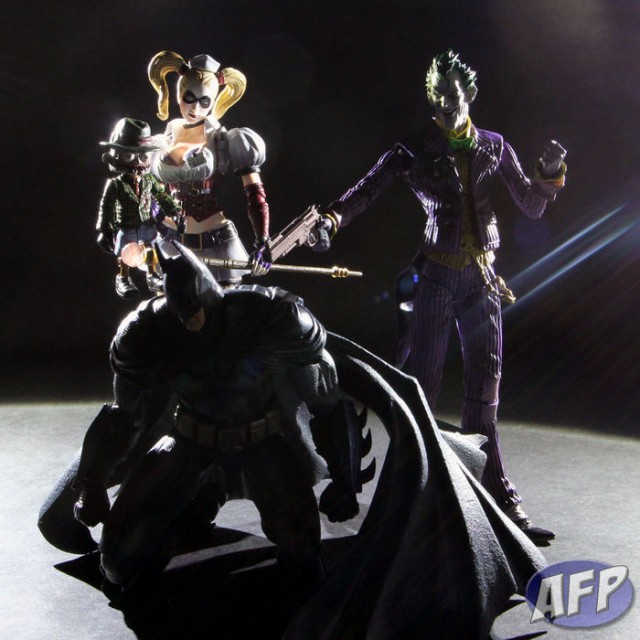
My setup time for pictures is usually pretty quick, because I find it more efficient to start snapping and correct on the go, than trying to get it perfect right off the bat. With this before and after shot of the Square Enix Play Arts Kai Arkham Asylum figures (they are really awesome, by the way), I’ll highlight some lighting issues you might come across and give you some quick and easy solutions for them.

Continue reading “Square Enix Play Arts Kai Batman: Arkham Asylum – How to Fix Some Common Lighting Problems”

More Fun with Laser Pointers and Action Figure Pics

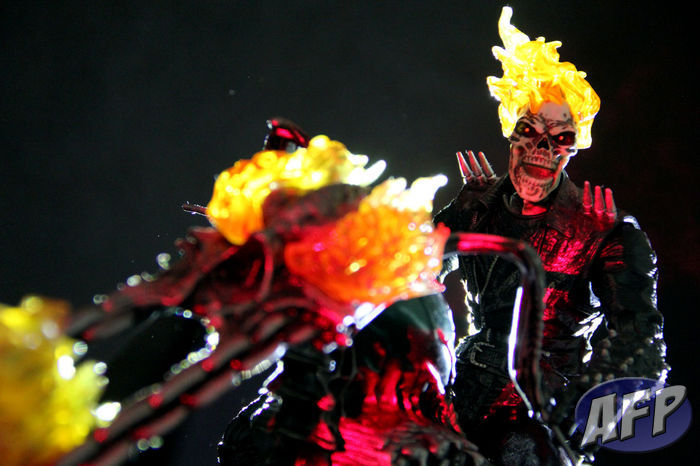
I had so much fun taking pictures of the figures in my laser pointer how-to post that I spent the next day looking for more guys to shoot. I’ll spend a little less time on the how-to’s here, as it’s pretty simple to get really nice shots using a laser pointer as a primary light source.

The shot above is the Marvel Legends Icons Ultimate Ghost Rider. It’s always been relatively easy to light up the translucent flames on his head – here, I used my cell phone and tablet with a flashlight app for some backlighting highlighting his head. What I used the laser pointer for is to get some additional light on Ghost Rider and his bike to simulate light coming off the flames. I aimed the laser at my cheap DIY reflector and beamed it back onto him. Would have liked to get a little more spread (his arm didn’t get any of it) but I still like the effect.

Continue reading “More Fun with Laser Pointers and Action Figure Pics”

Scroll Up