Quick Pic – Street Fighter Akuma and Ryu, Take 3 and Done!

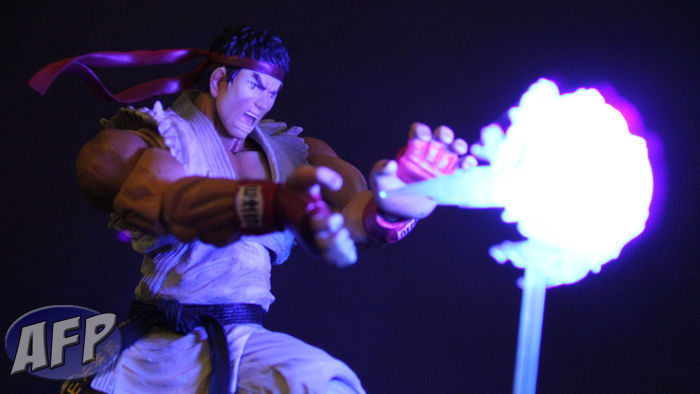
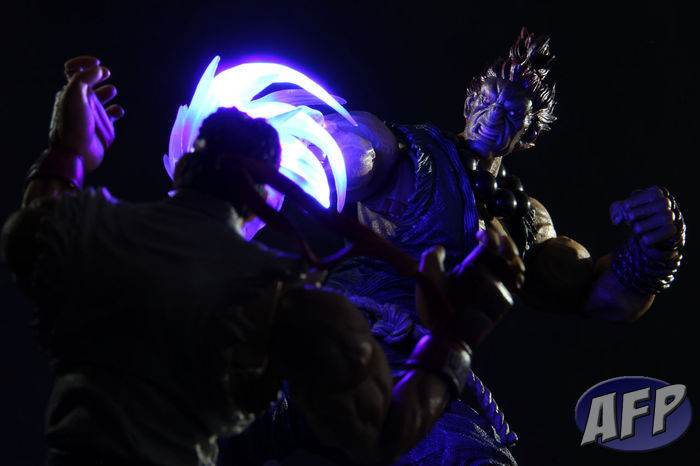
I promise – this is the last shot of Akuma and Ryu! I mentioned yesterday that I wanted Ryu’s head framed by the fireball, so I made that minor adjustment plus repositioned his left hand so the palm would catch some of the reflection off of the fireball too. And while I liked how in the second shot it looked like Akuma was appearing out of the darkness, I wanted to see what it would be like with some lighting on his sides, so you can make out his entire silhouette. For this I used the LED book lights, as the flexible necks let me position the lights exactly where I wanted them.

I noticed too that the straps from Ryu’s headband had fallen out in the previous pics, so this gave me an opportunity to add it back in.  And finally, tilting the camera allowed me to fill a rectangular image instead of having some unnecessary blank spots in a square. The added benefit – drama! At this point, I don’t think there’s anything other changes to make (hence my promise) – but if you have suggestions, let me know.

Although this was not intended, you’ve have now sort of been through my process of composing shots – snap pics, see how they look, and make incremental adjustments… and repeat. But instead of this being in one sitting, because of time limits the past few nights, it’s gone over a few days instead. If you want to see the progression, here’s the first shot of Akuma vs. Ryu and here’s take two of Akuma vs. Ryu. Thanks for looking!

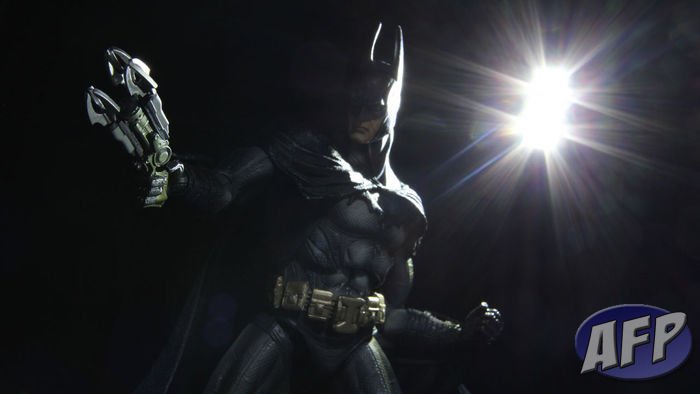
Square Enix Play Arts Kai Batman: Arkham Asylum – Experimenting with Spot Lights to Create Dramatic Lens Flare

I mentioned that I wanted to experiment with lens flare for drama when I posted the quick fixes for common lighting problems yesterday. Here is my first no-planning-involved attempt, using the Square Enix Play Arts Kai Batman (who is totally awesome, if you actually need me to tell you that). I’ve intentionally set up one of my LED book lights in the shot, knowing that the bright light shining directly into my camera lens will cause lens flare artifacts.

Continue reading “Square Enix Play Arts Kai Batman: Arkham Asylum – Experimenting with Spot Lights to Create Dramatic Lens Flare”

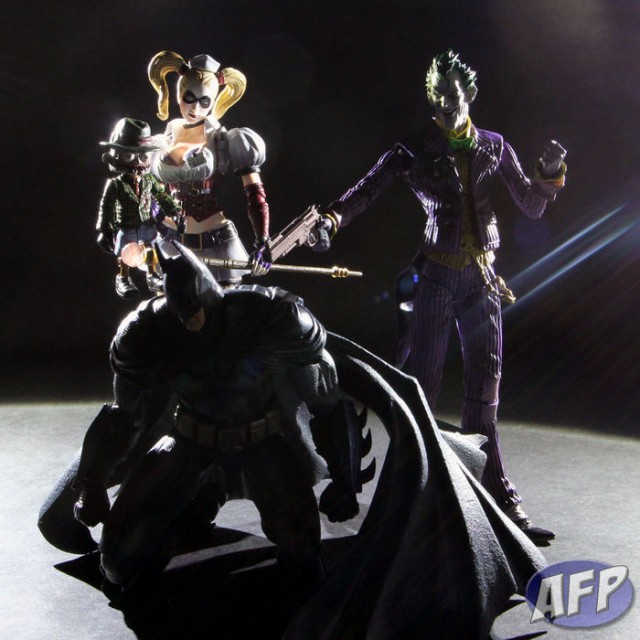
Square Enix Play Arts Kai Batman: Arkham Asylum – How to Fix Some Common Lighting Problems

Arkham Asylum 2.jpg

My setup time for pictures is usually pretty quick, because I find it more efficient to start snapping and correct on the go, than trying to get it perfect right off the bat. With this before and after shot of the Square Enix Play Arts Kai Arkham Asylum figures (they are really awesome, by the way), I’ll highlight some lighting issues you might come across and give you some quick and easy solutions for them.

Continue reading “Square Enix Play Arts Kai Batman: Arkham Asylum – How to Fix Some Common Lighting Problems”

More Fun with Laser Pointers and Action Figure Pics

I had so much fun taking pictures of the figures in my laser pointer how-to post that I spent the next day looking for more guys to shoot. I’ll spend a little less time on the how-to’s here, as it’s pretty simple to get really nice shots using a laser pointer as a primary light source.

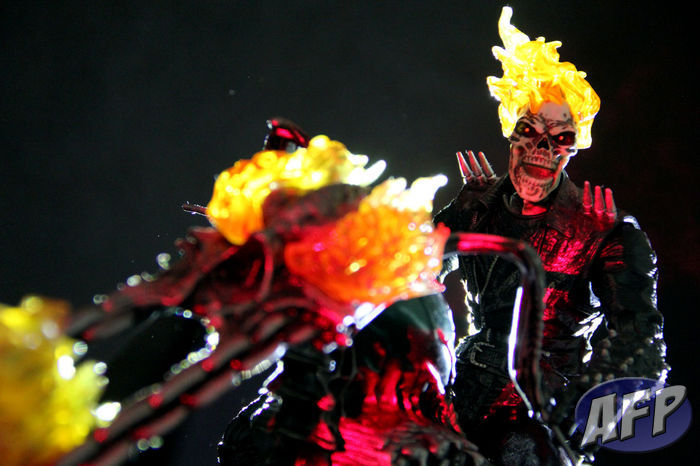
The shot above is the Marvel Legends Icons Ultimate Ghost Rider. It’s always been relatively easy to light up the translucent flames on his head – here, I used my cell phone and tablet with a flashlight app for some backlighting highlighting his head. What I used the laser pointer for is to get some additional light on Ghost Rider and his bike to simulate light coming off the flames. I aimed the laser at my cheap DIY reflector and beamed it back onto him. Would have liked to get a little more spread (his arm didn’t get any of it) but I still like the effect.

Continue reading “More Fun with Laser Pointers and Action Figure Pics”

How to Use Laser Pointers for Dynamic Action Figure Lighting

There’s so much to love about MatthewK’s photo reviews. I spent some time talking with him about his setup and process, and one thing we discussed was how he creates lighting effects for things like laser beams or jet pack flames, like you can see in the “Space Ace” portion of MattK’s Masters of the Universe Classics Vykron review. The secret, he told me, is tiny LED lights – that and a whole lot of patience. Basically, he sets up in darkness, opens the shutter on his camera, triggers his flash for the basic lighting, and then draws the lighting effect he wants. The patience is key, because it takes a lot of tries to get it just right.

Since I am a pretty impatient guy, I thought I’d try something simpler. I found some action figures and accessories that I could try lighting with a couple of simple laser pointers that my wife picked up for me. So, while you won’t be getting laser beams in this article, you might still find some pretty cool looking action figure pictures – I’ll explain how I set up each shot so you can try it for yourself.

Continue reading “How to Use Laser Pointers for Dynamic Action Figure Lighting”

Scroll Up