
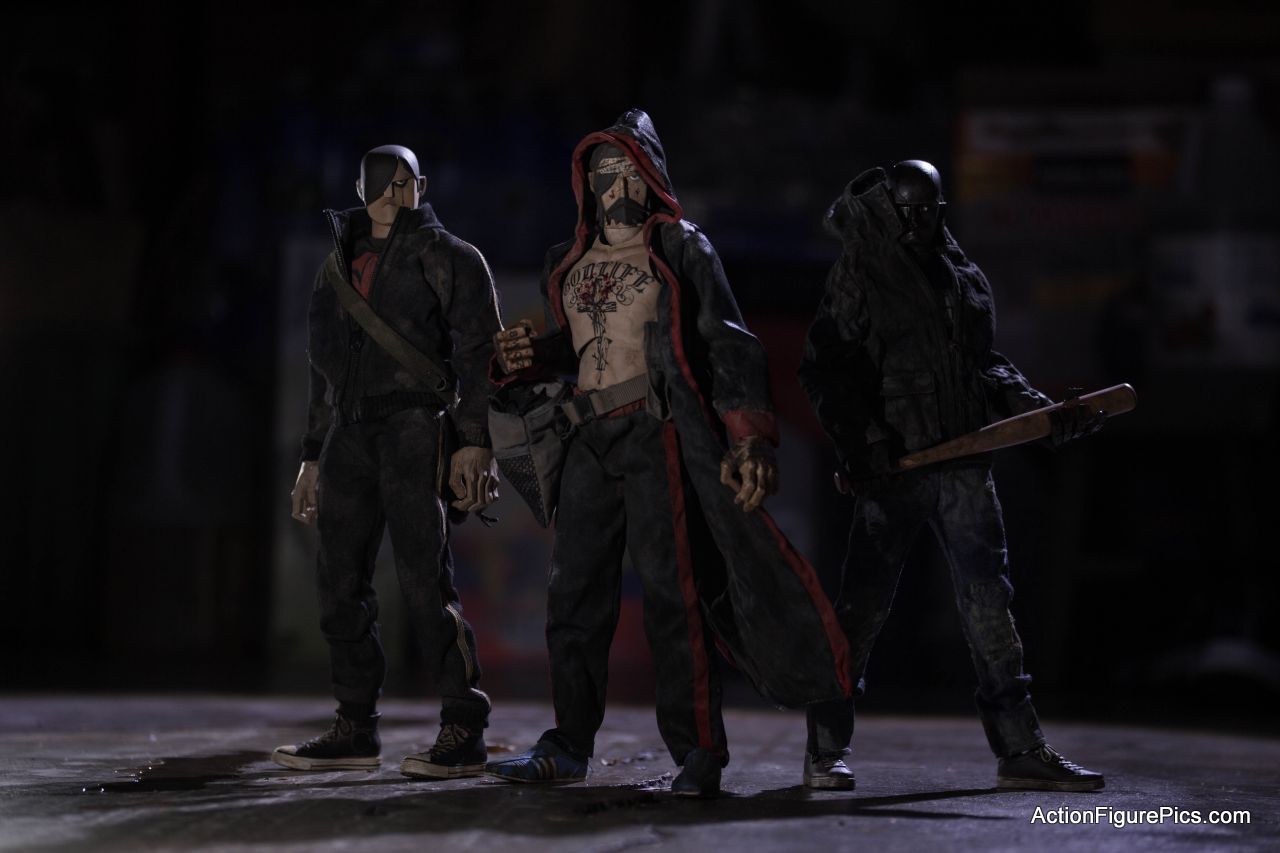
For a long time I tried to steer clear of 1/6 scale figures from 3A Toys, for good reason – I knew if I succumbed it would be break the bank. So when the 3AA exclusive for 2012 turned out to be the first 1/6 to be offered with the subscription, I was screwed. After getting the F-Legion figure, I set about picking up the figures I always wanted. Fighting JC from Adventure Kartel was at the top of the list, and I knew I needed a Tommy Mission too. In my version of the 3A-verse, JC, Tommy, and F-Legion form the Zomb-crushing “God Squad.”
The shot above utilizes three LEDs – my two book lights are on the left side in front and behind at ground level. I also just got a new, larger LED task light, which was on sale at Amazon. It’s behind and above on the right. It’s quite a bit stronger, and is a bit cooler, temperature-wise. I’ve always been fortunate to work with matched lights, which makes post-processing a little more simple. Here, I got to see some of the challenges when you don’t have matched lights – this shot required some color correction to take down some yellow, as my camera wasn’t quite sure what to do.
I didn’t have anything specific in mind as I set up for these pics. I wanted to take more pics of the growing 1/6 crew, but I also had some other new gadgets to check out. I had not noticed before that my tripod can take a head on the bottom of its center column – serving the same purpose as a reversible center column, this allows you to mount a camera low to the ground, amidst the tripod legs. For action figures, this lets you get some favorable angles with your figures on the ground while still getting the benefits of a stable shot. And, I wanted to try shooting in RAW mode and doing some post-processing in LightRoom.
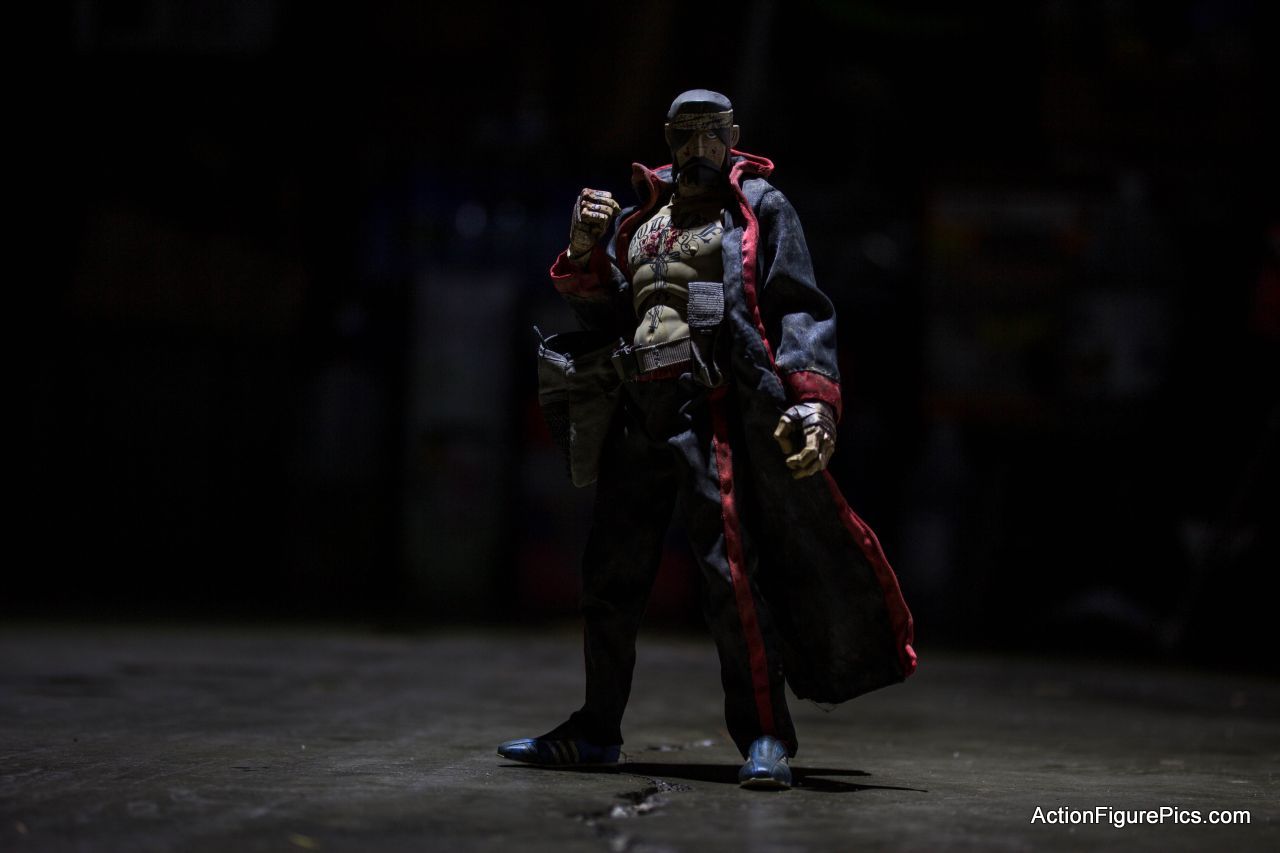
After the first shot (which really took like 15 shots ahead of it to get my manual settings where I really wanted them), I decided to test out the new LED on its own. It’s got a pretty robust clip so I just hung it by the garage door track (yes, I shot this in my garage) and pointed it down for some “divine” lighting.
Here, JC wonders why he has been forsaken. I really didn’t have to do a lot in post with these shots, but what I did find working in RAW with Lightroom is that I could make a lot more dramatic changes to the lighting and not impact the quality of the shot as much. It’s much more forgiving than shooting a JPG. But having shot JPG for so long, I tend to spend more time getting lighting and camera settings configured – so while I could do a lot in post, I found with these shots that I could spend more time cleaning up details, if needed, versus having to get the lighting to look just right.
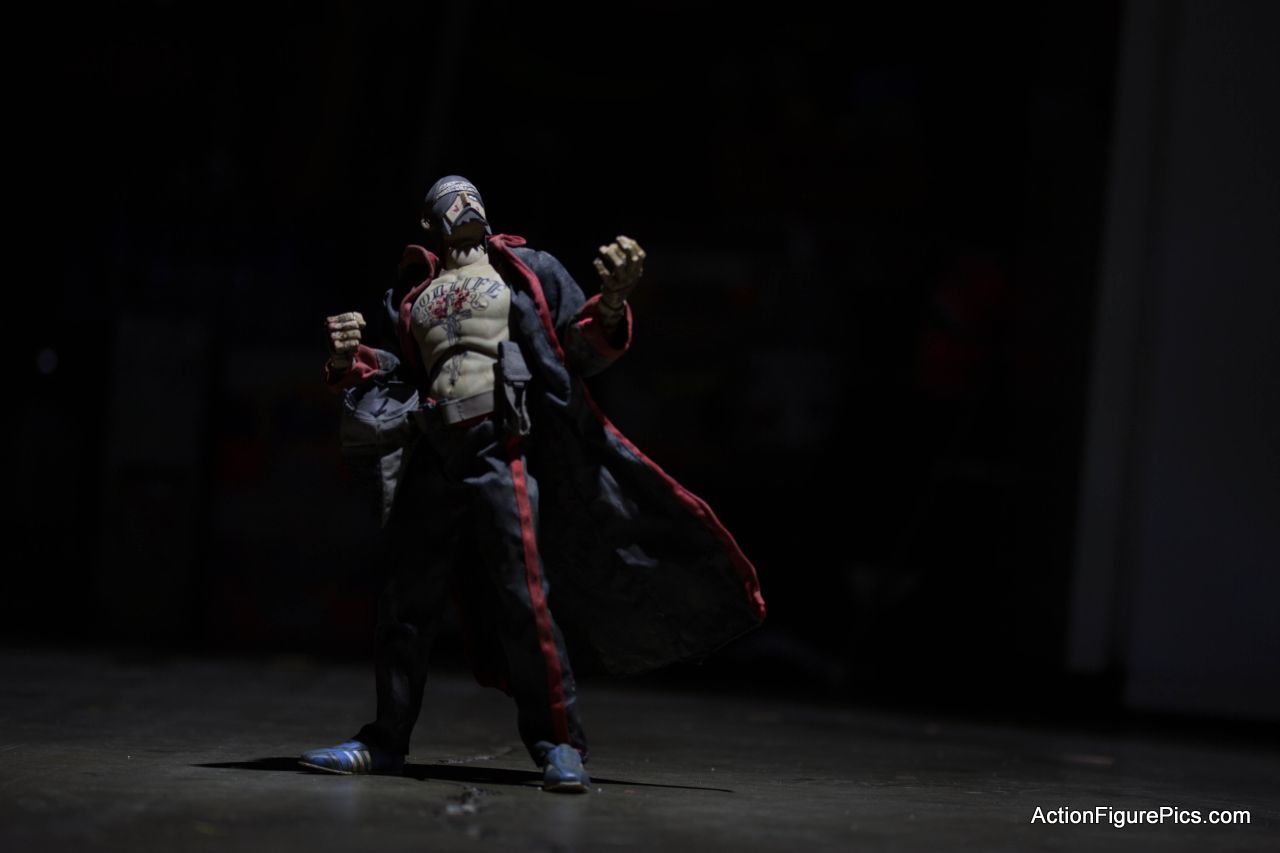
One thing I definitely appreciated with Lightroom was the ability to synchronize settings across shots. In the previous one, I had done some minor tweaks with the black levels and contrast to darken the background just a little bit. If I were using a freebie image program, like Irfanview or Picasa, I would have to repeat the same steps to achieve the same look in my next shot. And that’s if I wanted to take the time – with the freebies, you don’t have a lot of precision and often you just have an “autofix” type of button. With Lightroom, I just took the adjustments I made on the previous picture and applied it here. This is another benefit of learning your manual settings – because I had taken the time to get the camera settings the way I wanted them, I was assured that since the two shots shared the same aperture, shooting speed, and ISO, that the adjustments from one to the other would have consistent results. If I were shooting in automatic mode, slight changes in composition could result in those settings changing.
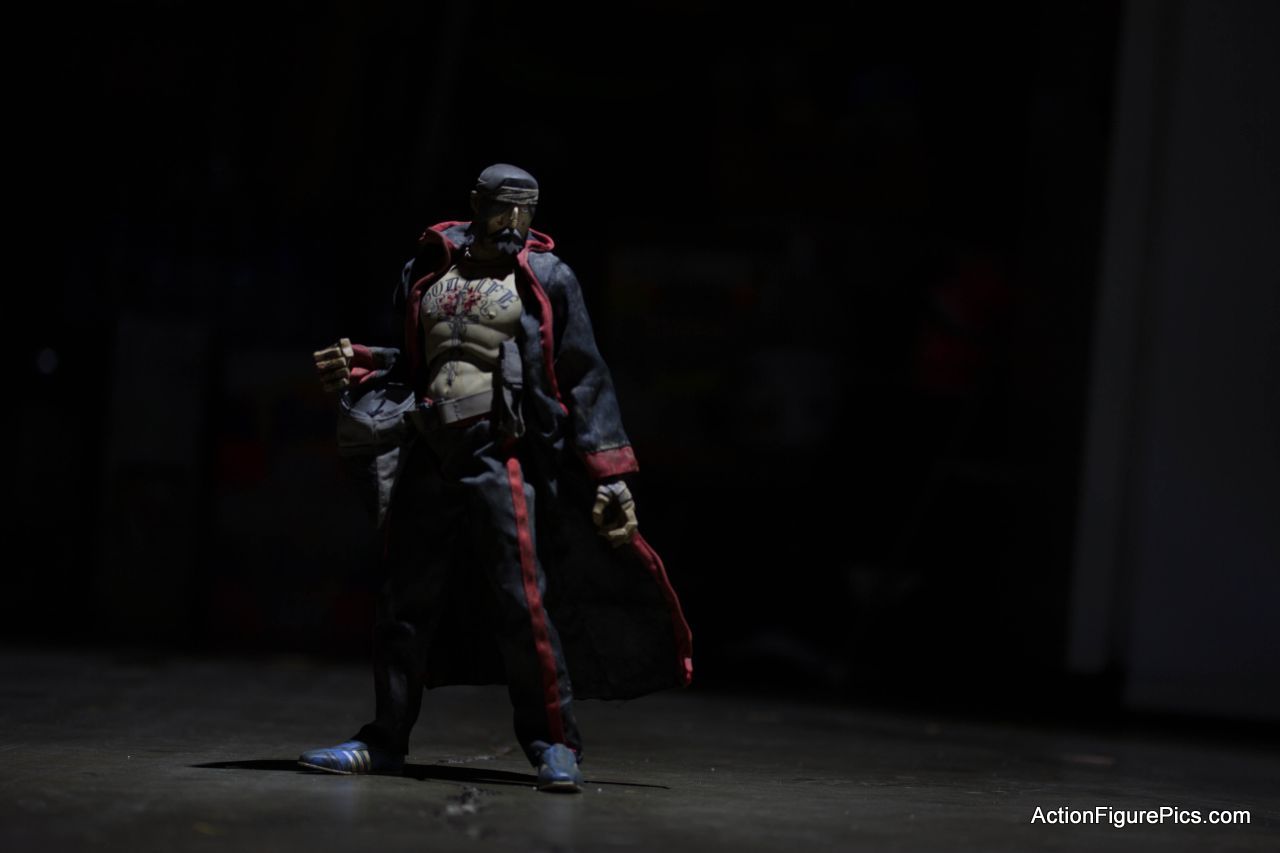
I also decided to lighten JC’s face a little, as it was a little too shrouded in shadow. Lightoom has an easy way to mask selected areas and tweak the settings. On his face I just gave it another stop and upped the contrast and vibrancy just a bit.
I have a few more 3A figures to shoot, but the holidays are upon us – might be a little bit before I can do another shoot. Stay tuned for more!
These are some damn nice shots, Ron. I haven’t played around with RAW at all yet because I’m still getting to know the bare basics of my camera, but if this is what it’s capable of, then I’ll be looking into it SOON.
@canonball – thanks!
I think the biggest hurdle I had moving from my point and shoot to a DSLR was getting out of Automatic mode. the cameras are getting so good that in most situations you won’t have to – but I find that the more interesting and dramatic shots use lighting in a way that challenges the Auto mode.
there’s so many settings that it was pretty daunting at first. the breakthrough for me was learning that the three main settings (aperture, shutter speed, and ISO) are all just tied to how much light you are letting into your shot – so really, it’s just one thing (with 3 “knobs) to consider. when I thought about it that way, I realized it wasn’t as complicated as it seemed at first. I wrote a how-to on Manual shooting here: https://www.actionfigurepics.com/2012/11/threea-toys-fighting-jc-experimenting-with-manual-camera-settings-to-control-light. it borrows pretty heavily from some youtube videos that helped me a lot.
since most of what I do gets published online, the benefit from shooting RAW isn’t as dramatic as what I learned about lighting and shooting Manual. it will certainly help in post, but it’s really enabled by the foundation of understanding the Manual settings in the first place.